My review of the Garmin Varia RTL510 radar tail light
As I mentioned in my post Testing my two Garmin Virb Ultra 30 cameras, I’ve been thinking more and more about the safety aspects of riding my bike, since I was hit by a car from behind last January. Due to wind noise, I didn’t notice the car until he hit me. I would have noticed that car much sooner, if I’d already had a Garmin Varia RTL510 radar tail light. I recently bought one and I love it! In this review I’ll let you know why and I’ll show you what’s in the box, how you attach the radar to the seat post, how to connect the unit to your Edge, how and when the radar works (and when it doesn’t) and the pros and cons of the RTL510.
If you’d like to buy one, you can get just the light or a bundle containing the light and a small display. I chose to buy the light and control it with my Garmin Edge 810. Let’s unbox the bike radar:
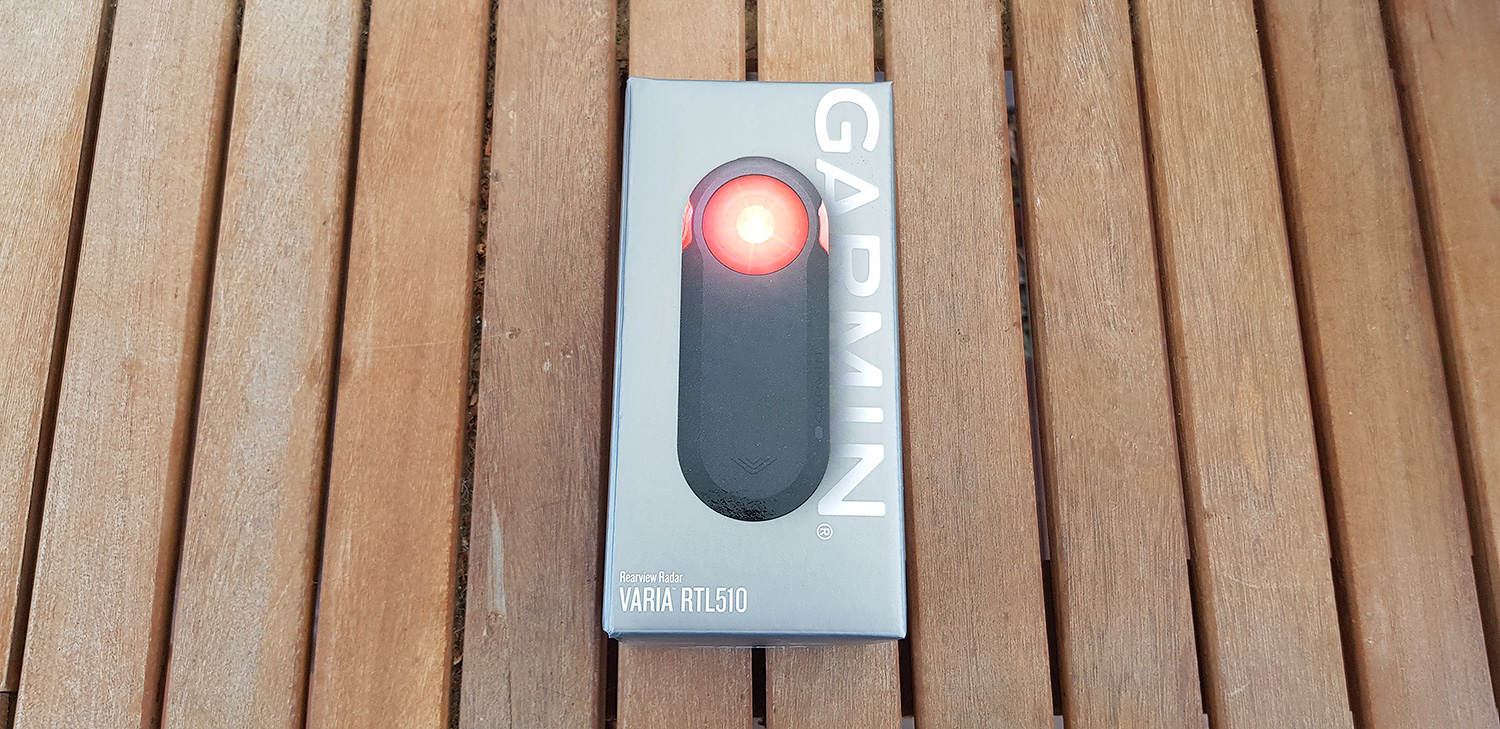
The Garmin Varia RTL510 bike radar

Unboxing the RTL510
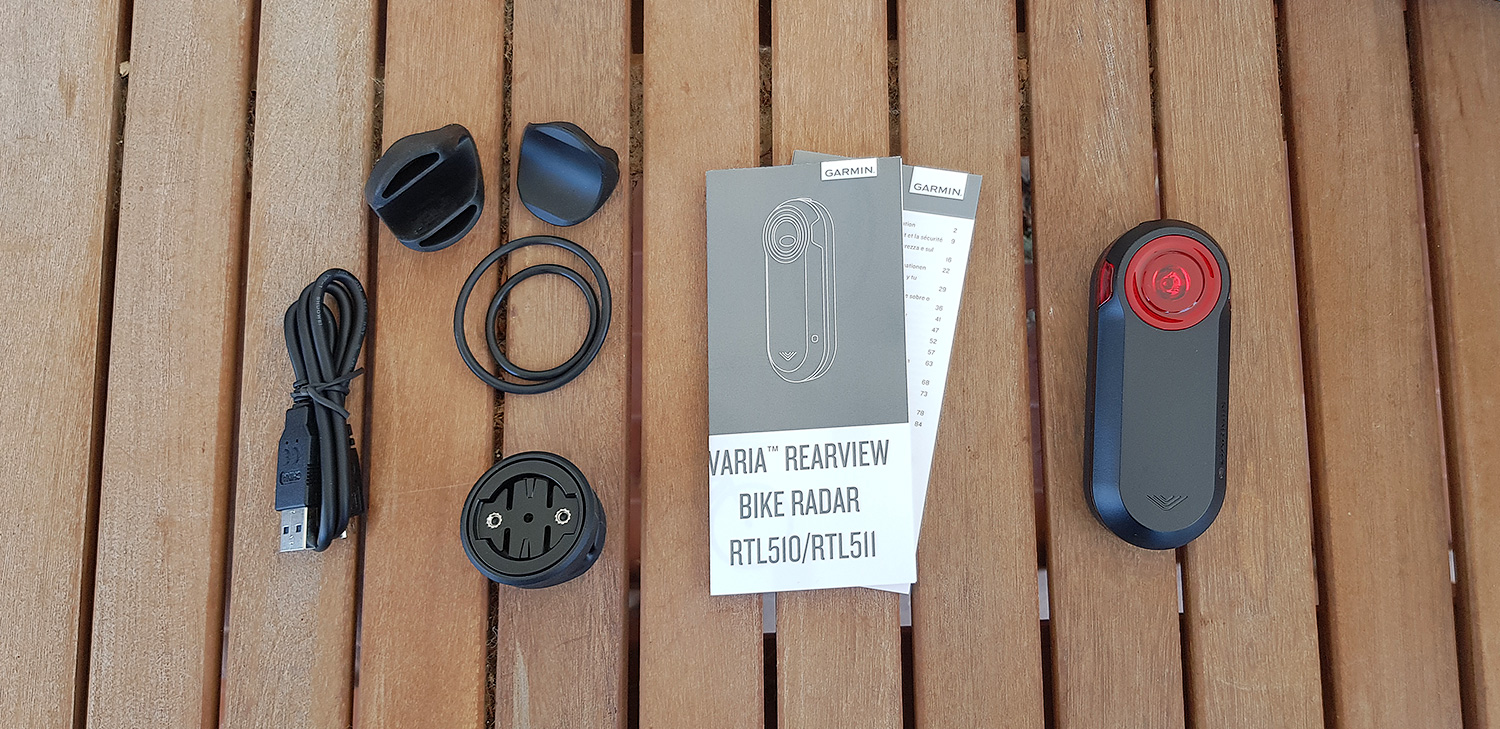
The contents of the box
The box contains the unit, a charging cable, a quick start guide, a seatpost mount with rubber bands, a round and and an aero rubber adapter for the mount and important safety and product information. The quick start guide provides enough information, but you can always read the online owner’s manual.

The quick start guide
Attaching the RTL510 unit to the seat post is a piece of cake: you start by choosing the correct rubber adapter and put it in the seat post mount. In my case I used the adapter for a round seatpost.
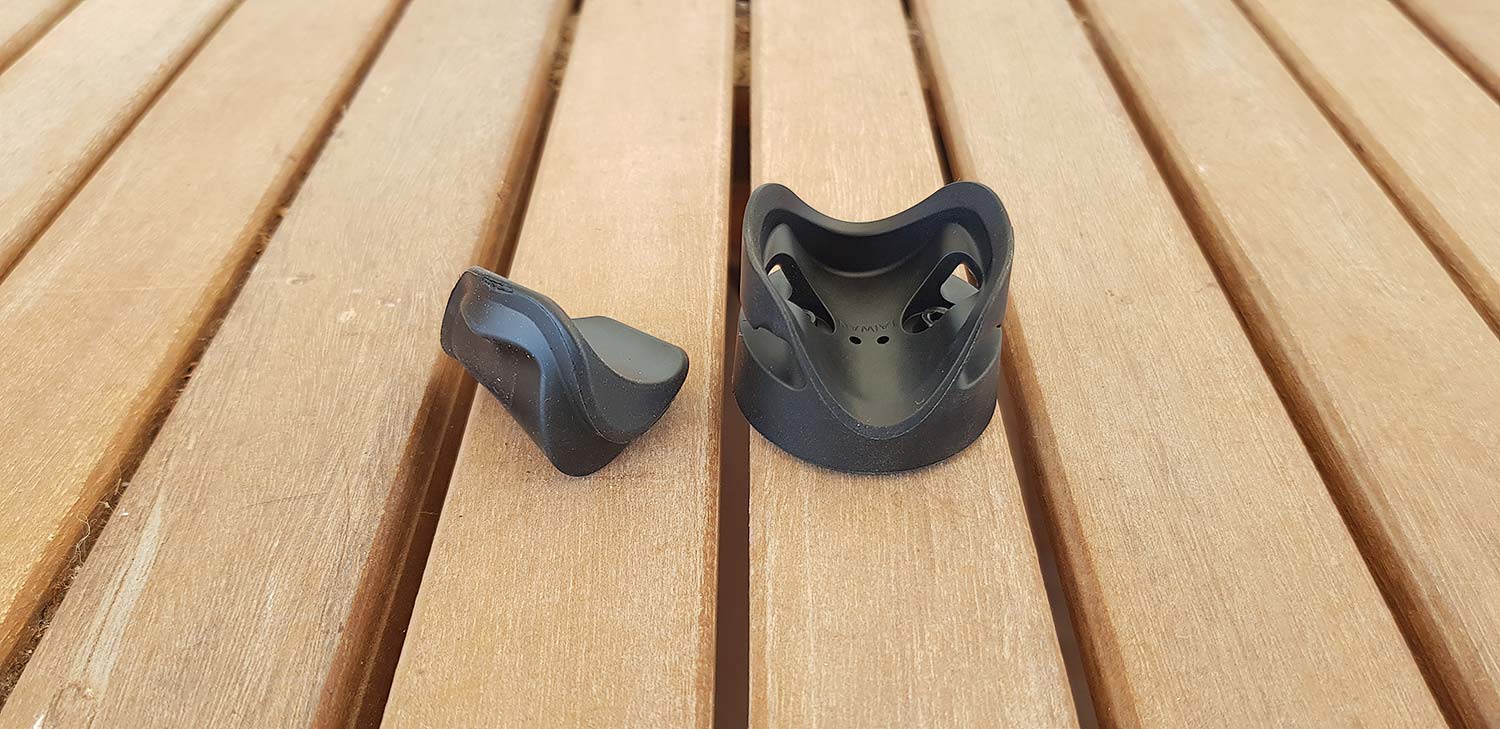
The seatpost mount and adapter
The adapter attached to the seatpost mount
Now use one of the rubber bands to attach the mount to the seatpost. Don’t attach it too low, otherwise the rear tire might block the radar.
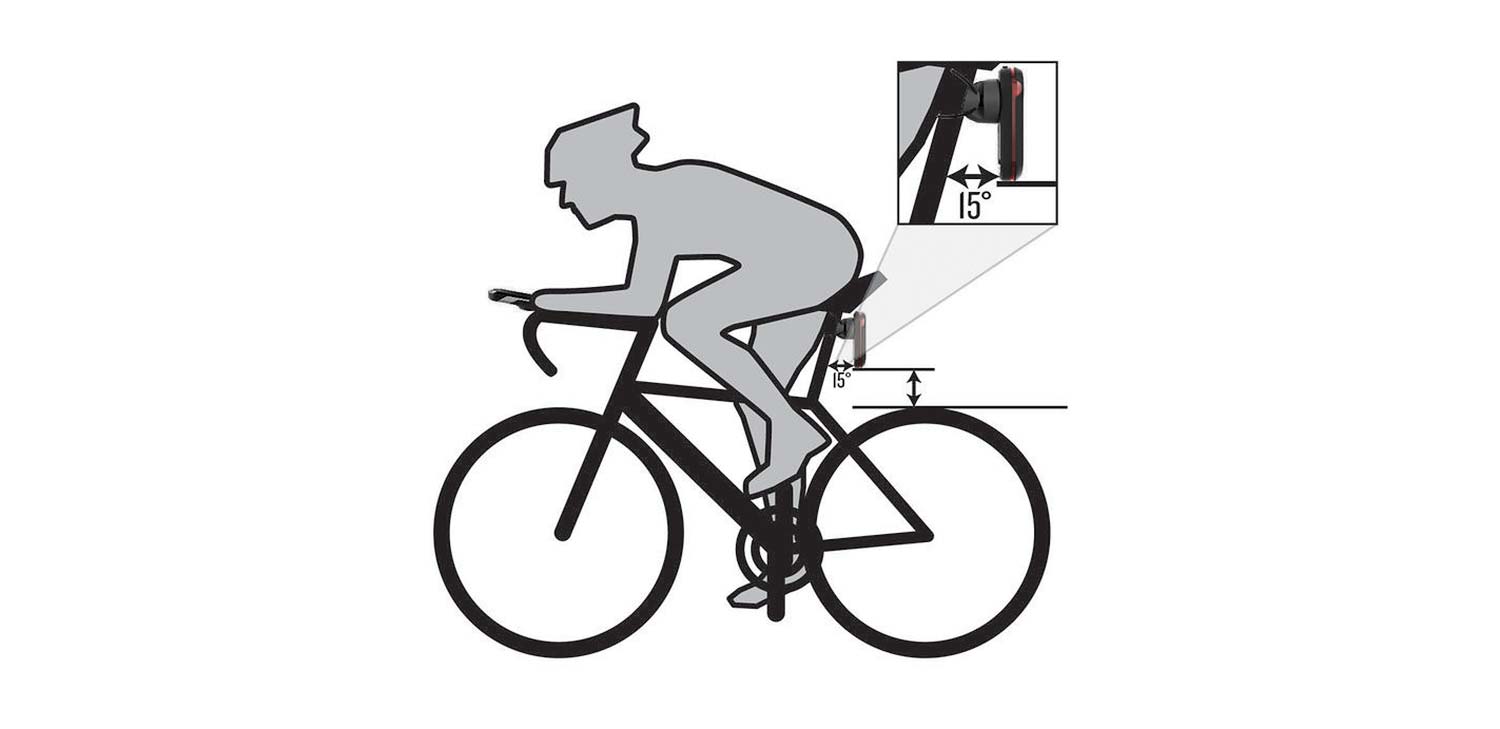
The correct height of the radar unit according to the guide
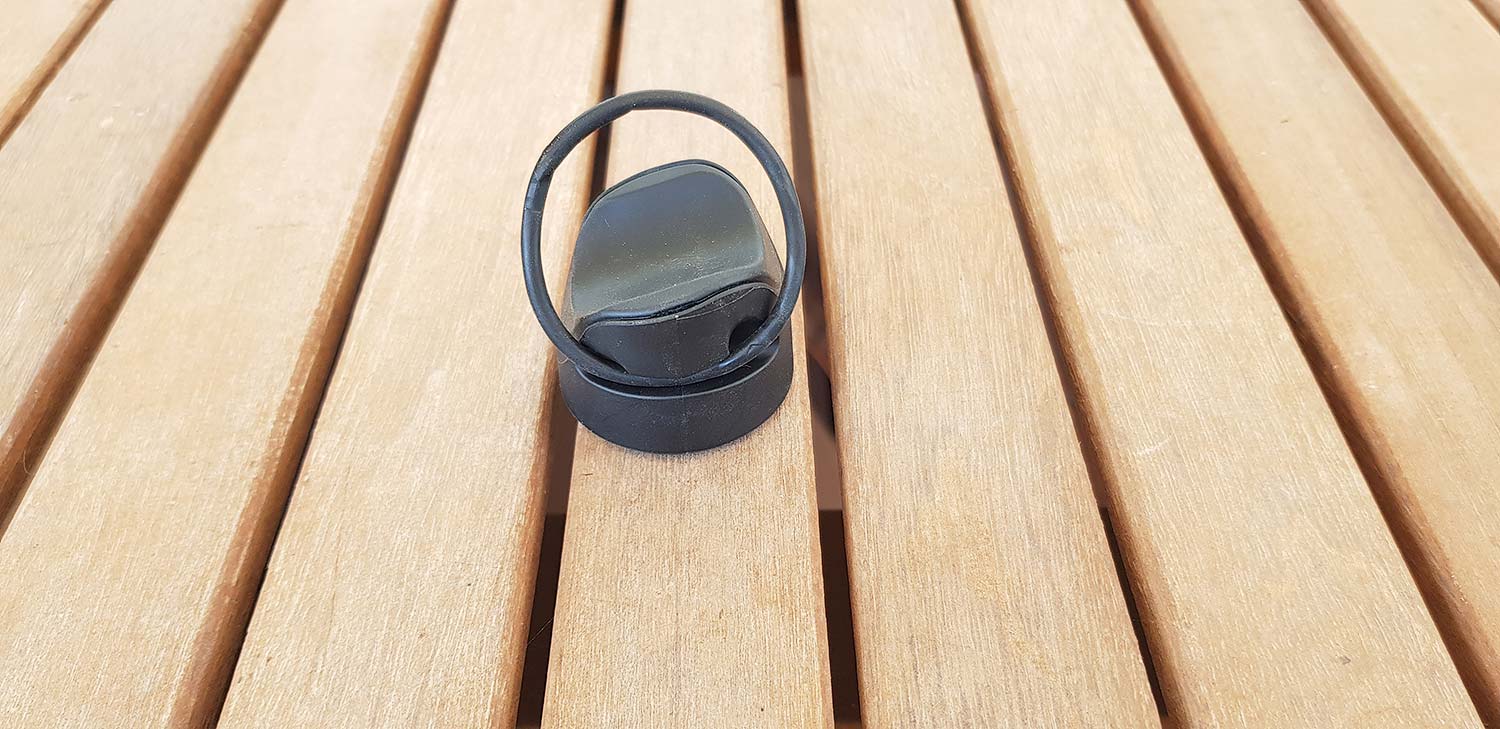
Use one of the rubber bands to attach the mount to the seatpost.
The mount attached to the seatpost.
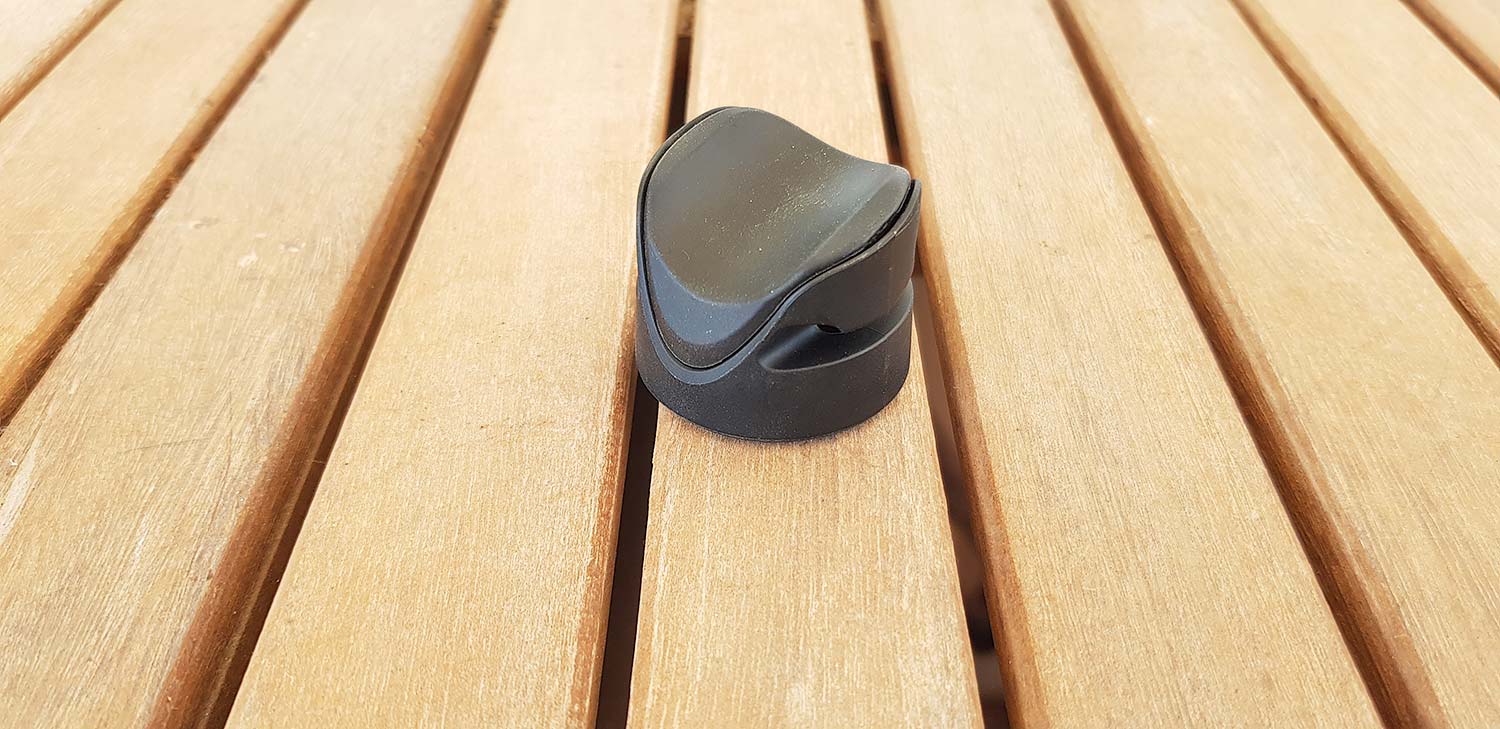
To attach the RTL510, you hold the unit horizontally and push it into the mount. Then you turn the unit clockwise to attach it.
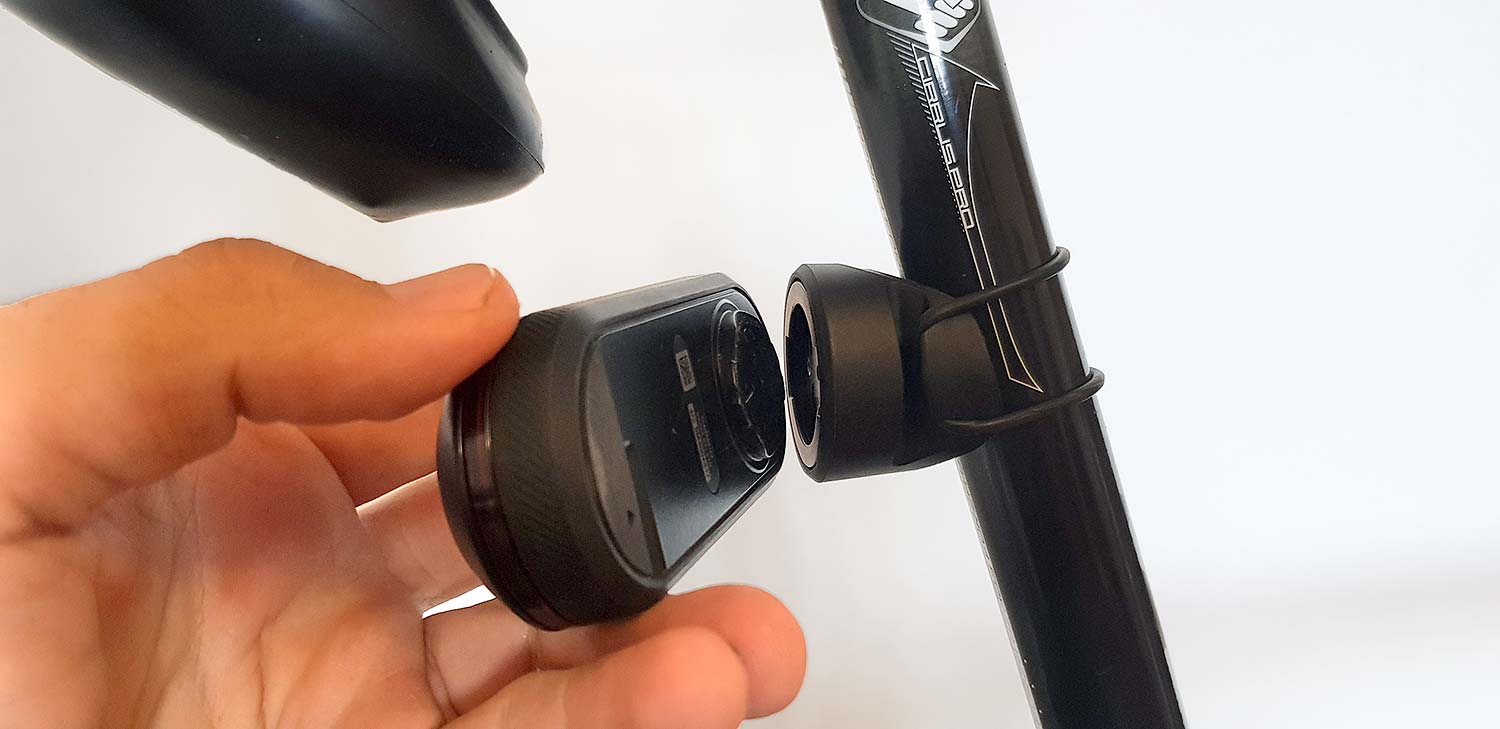
Hold the unit horizontally and push it into the mount
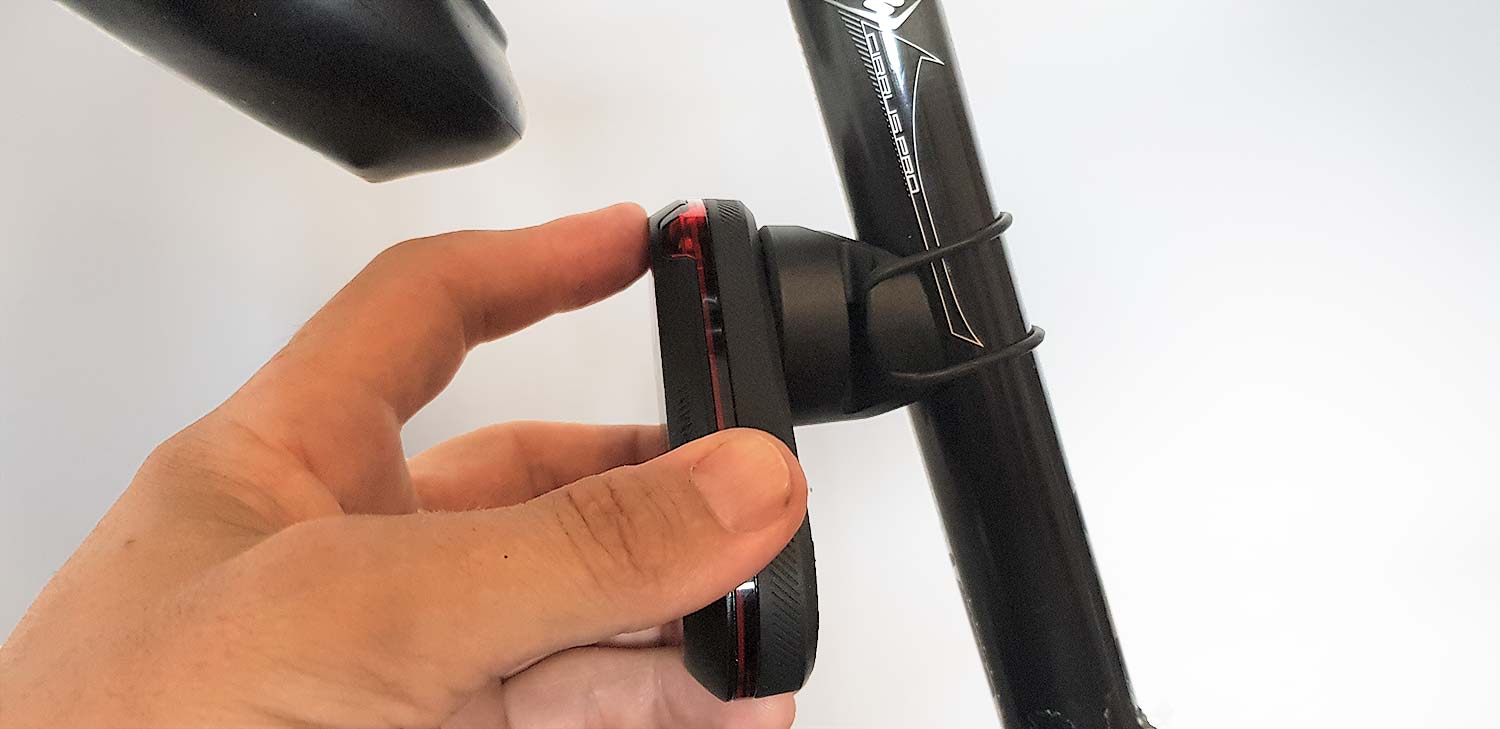
Now turn the unit clockwise to attach it
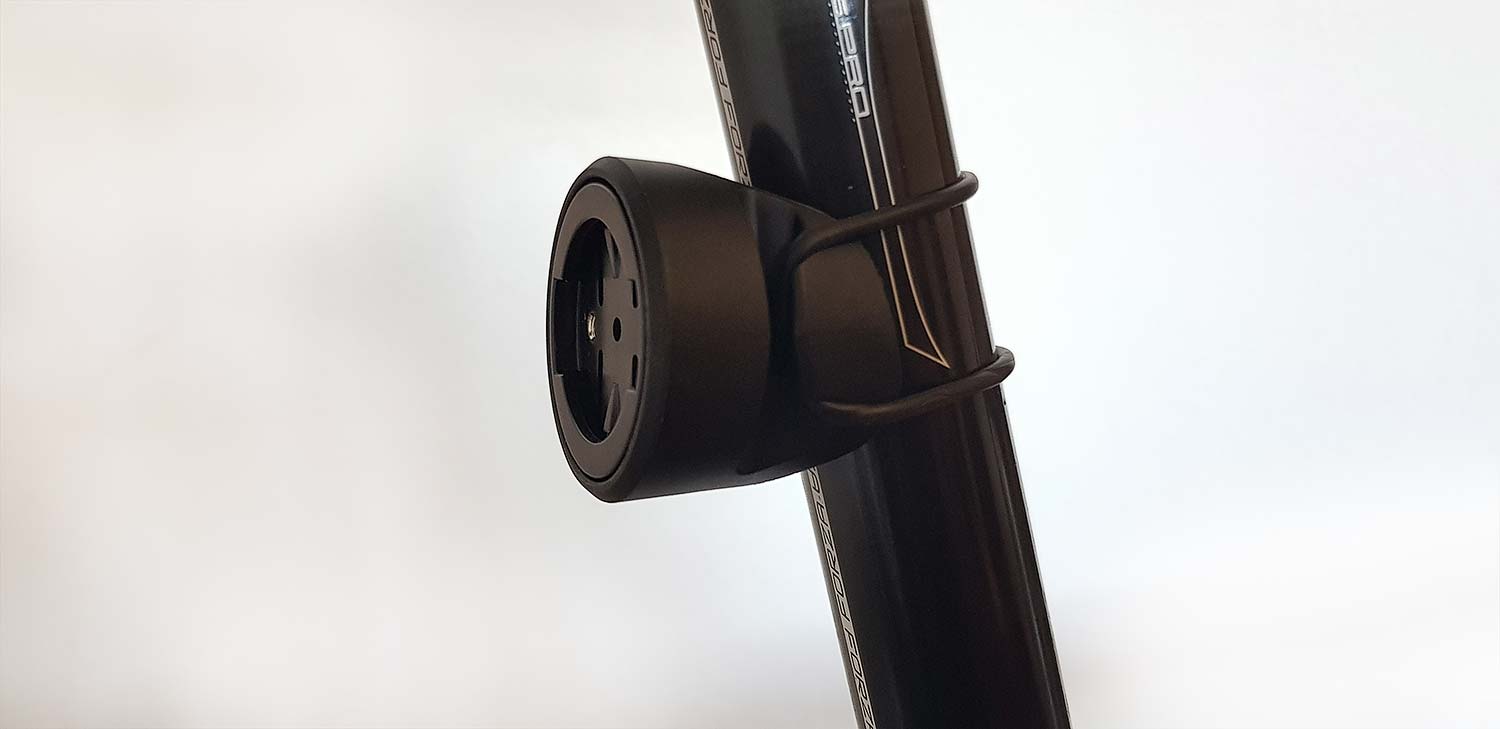
This is what it looks like:

The RTL510 attached to the seatpost
Let’s connect the RTL510 to the Edge 810. Keep in mind that the connecting process is slightly different with other Edge models. First, turn on the RTL510 by pressing the button at the top of the unit. The light will be in solid mode. Now go to the menu of your Edge and you’ll see a radar option. Choose that option.
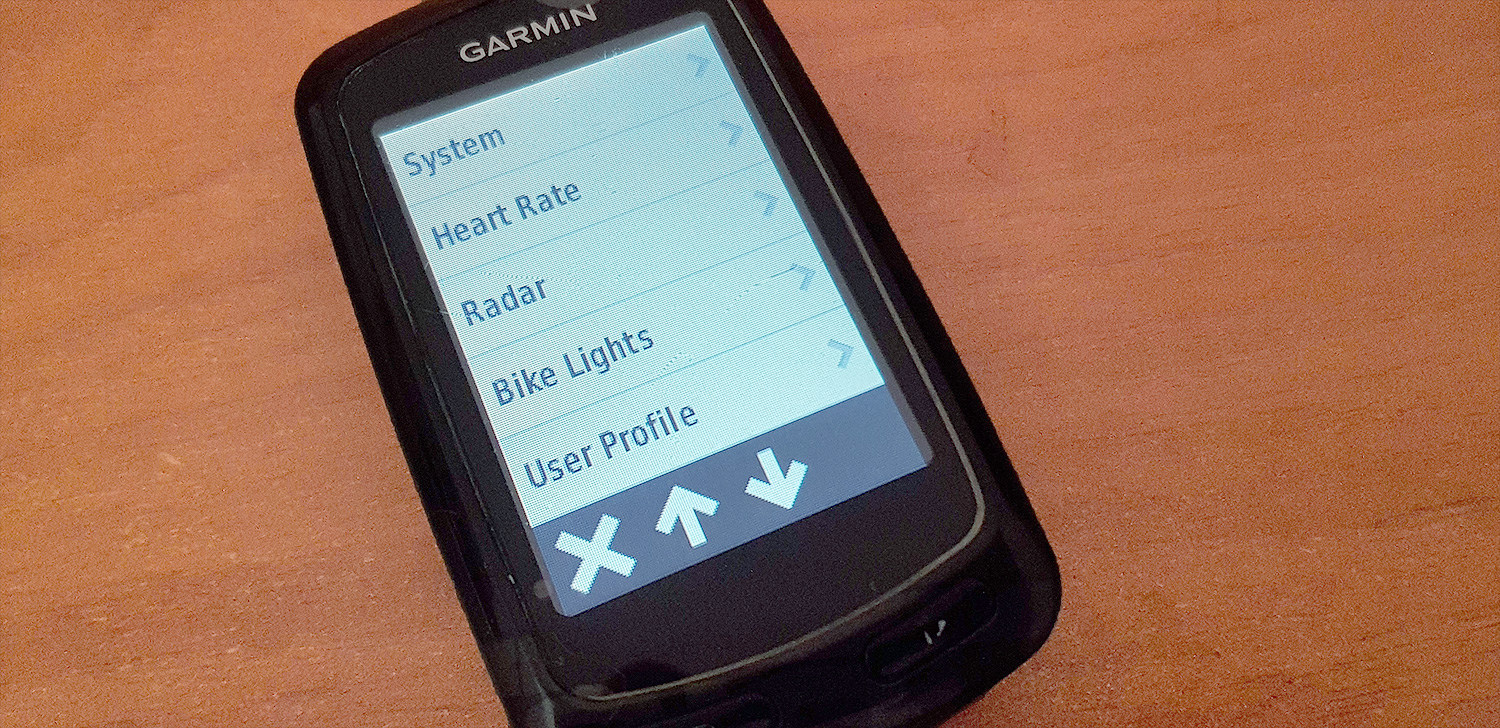
The menu of the Garmin Edge 810
On the radar page you’ll need to enable the radar.
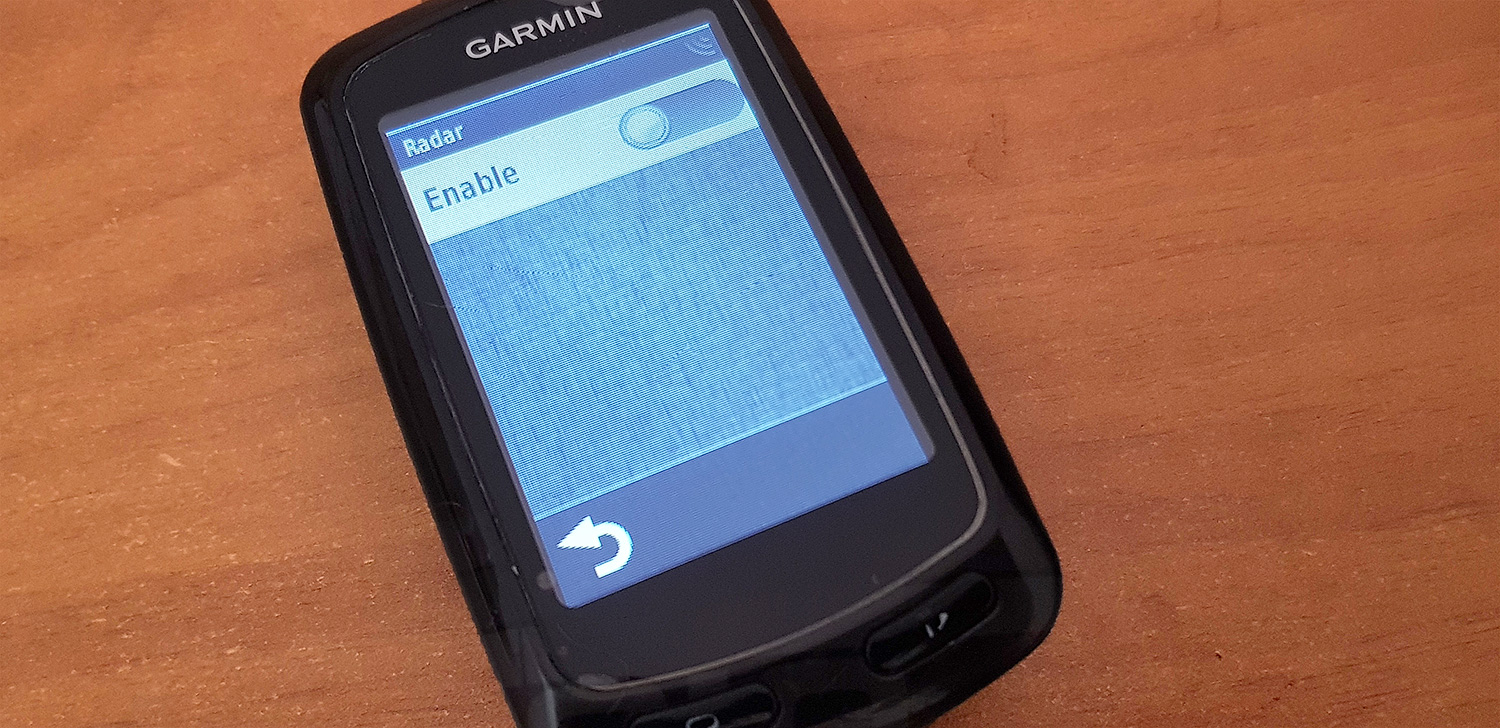
The radar page (Edge 810)
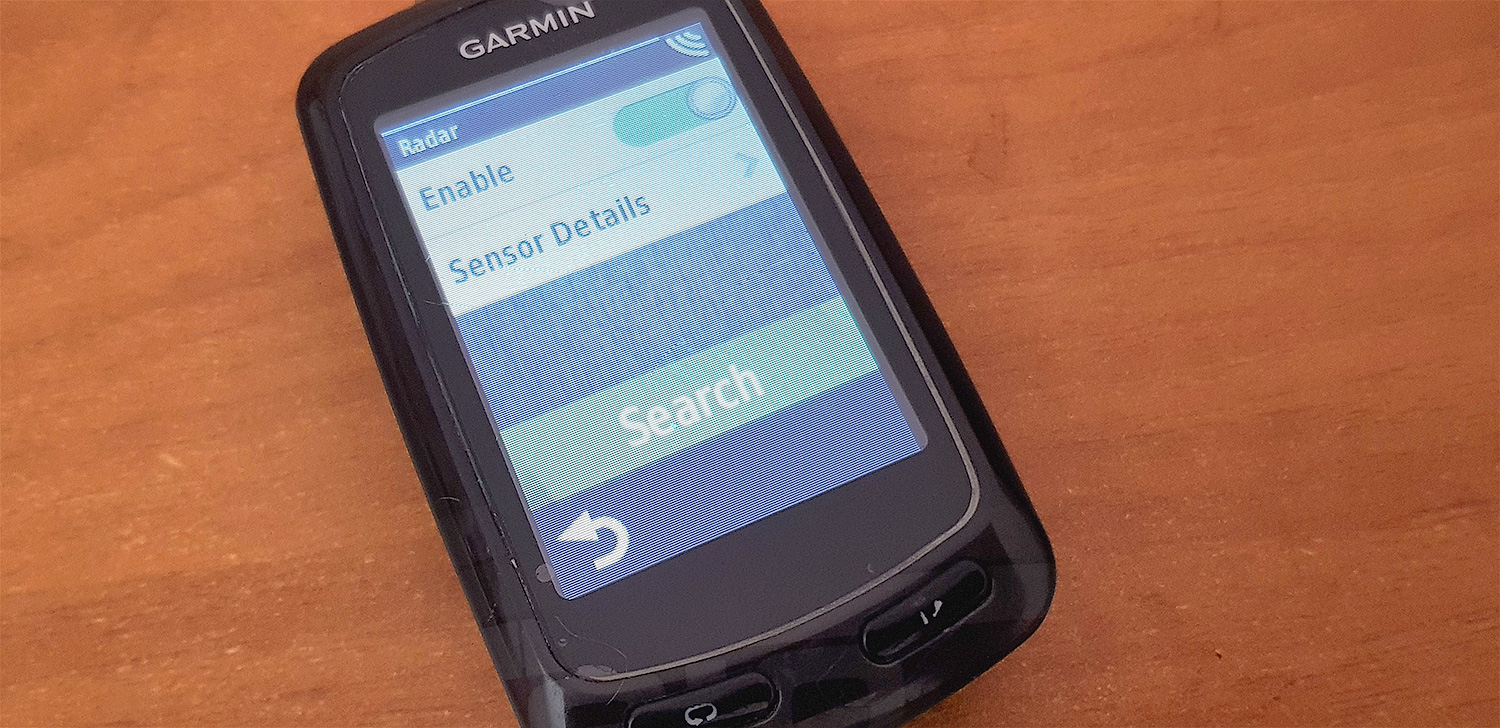
Enabling the radar
When the radar is enabled, the Edge will start searching for the radar and will show a message when it has found the unit.
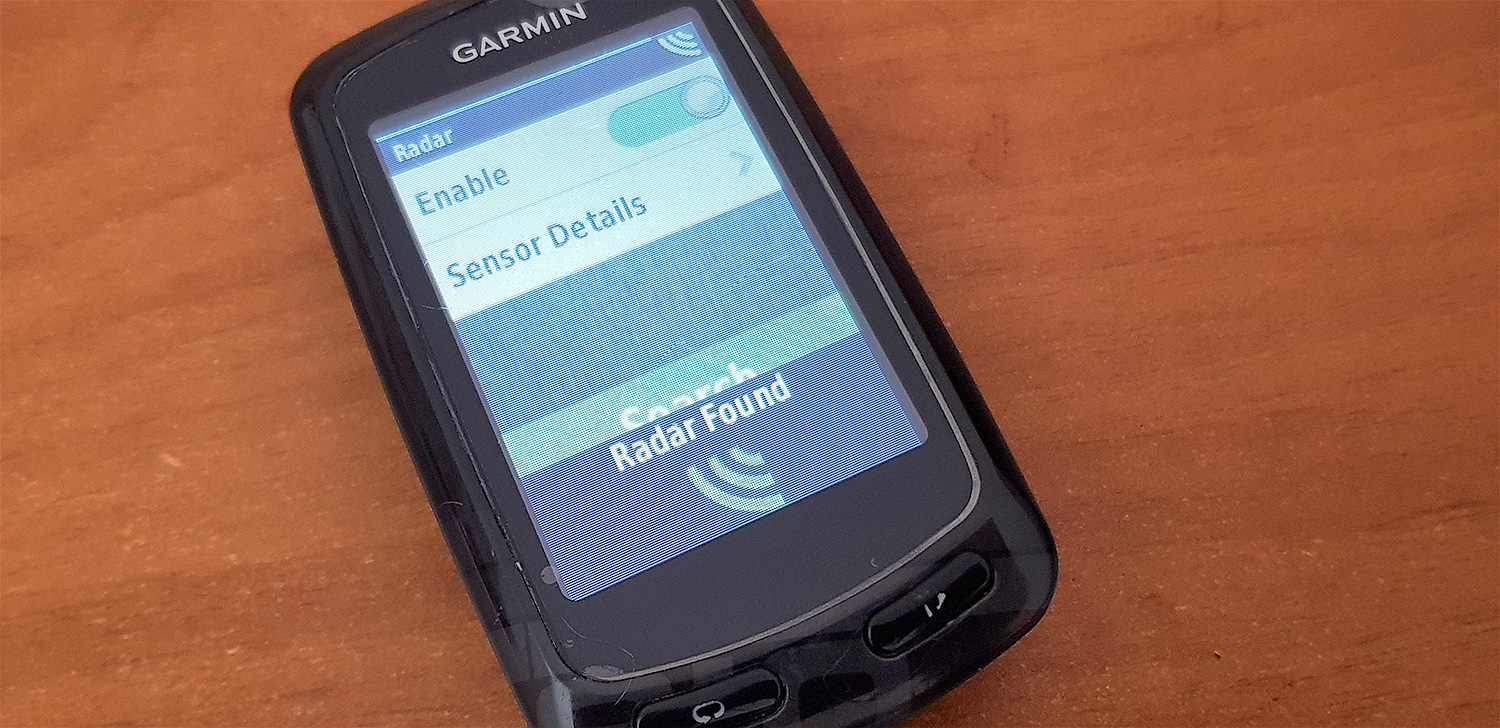
Radar found
The first time you use the RTL510, you’ll get a safety message. I didn’t take a picture when that happened on my unit, so I took one of the Italian message my cycling buddy Caimano got when he connected his Edge 1000 to my radar. In English it says something like this:
“Vehicle proximity notices serve to increase awareness of the traffic situation but do not replace the cyclist’s attention.
If you do not pay close attention to the surrounding environment, you may experience fatal accidents, physical and material damage.”
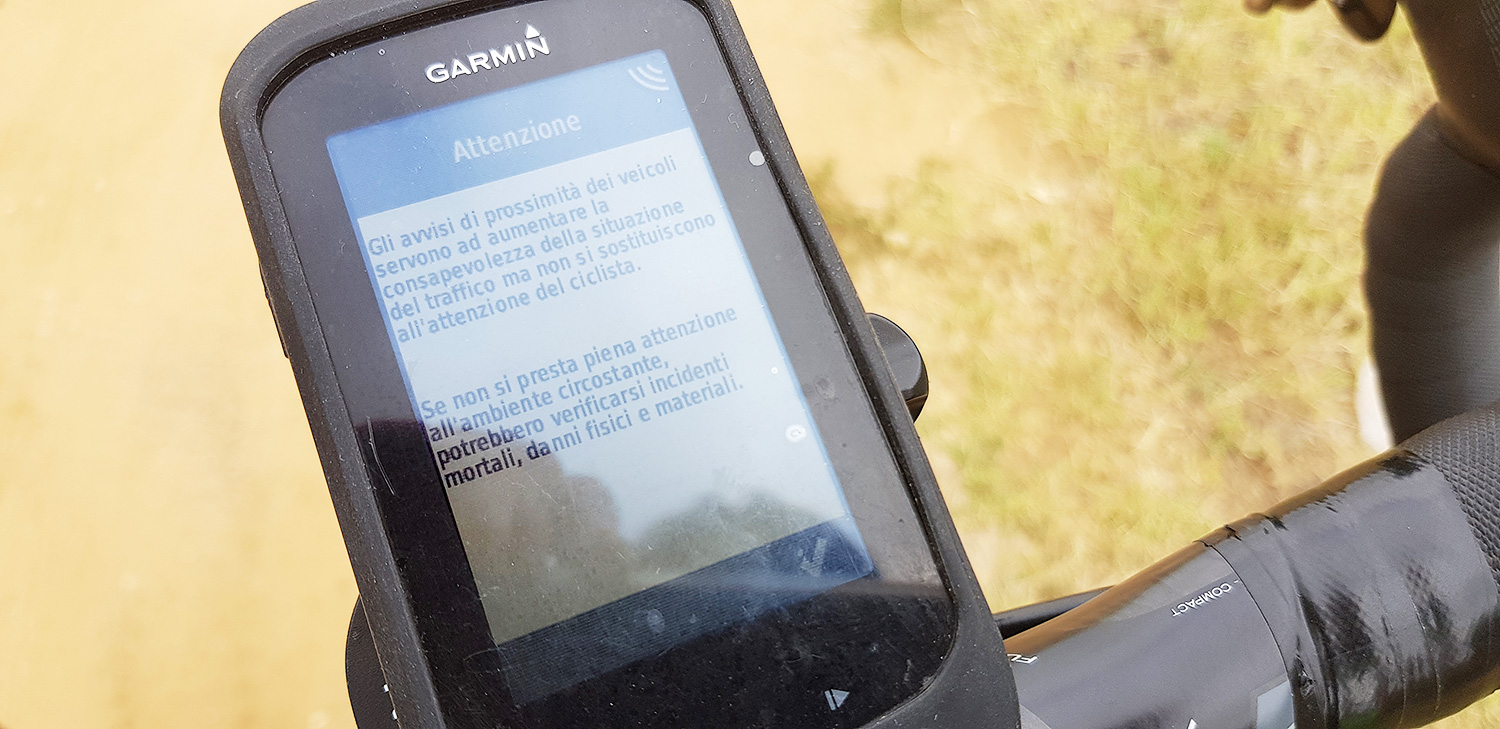
The safety message
Now that the unit is connected to the Edge 810, let’s see how it works. First of all, the radar icon in the top right corner shows you that the unit is connected.
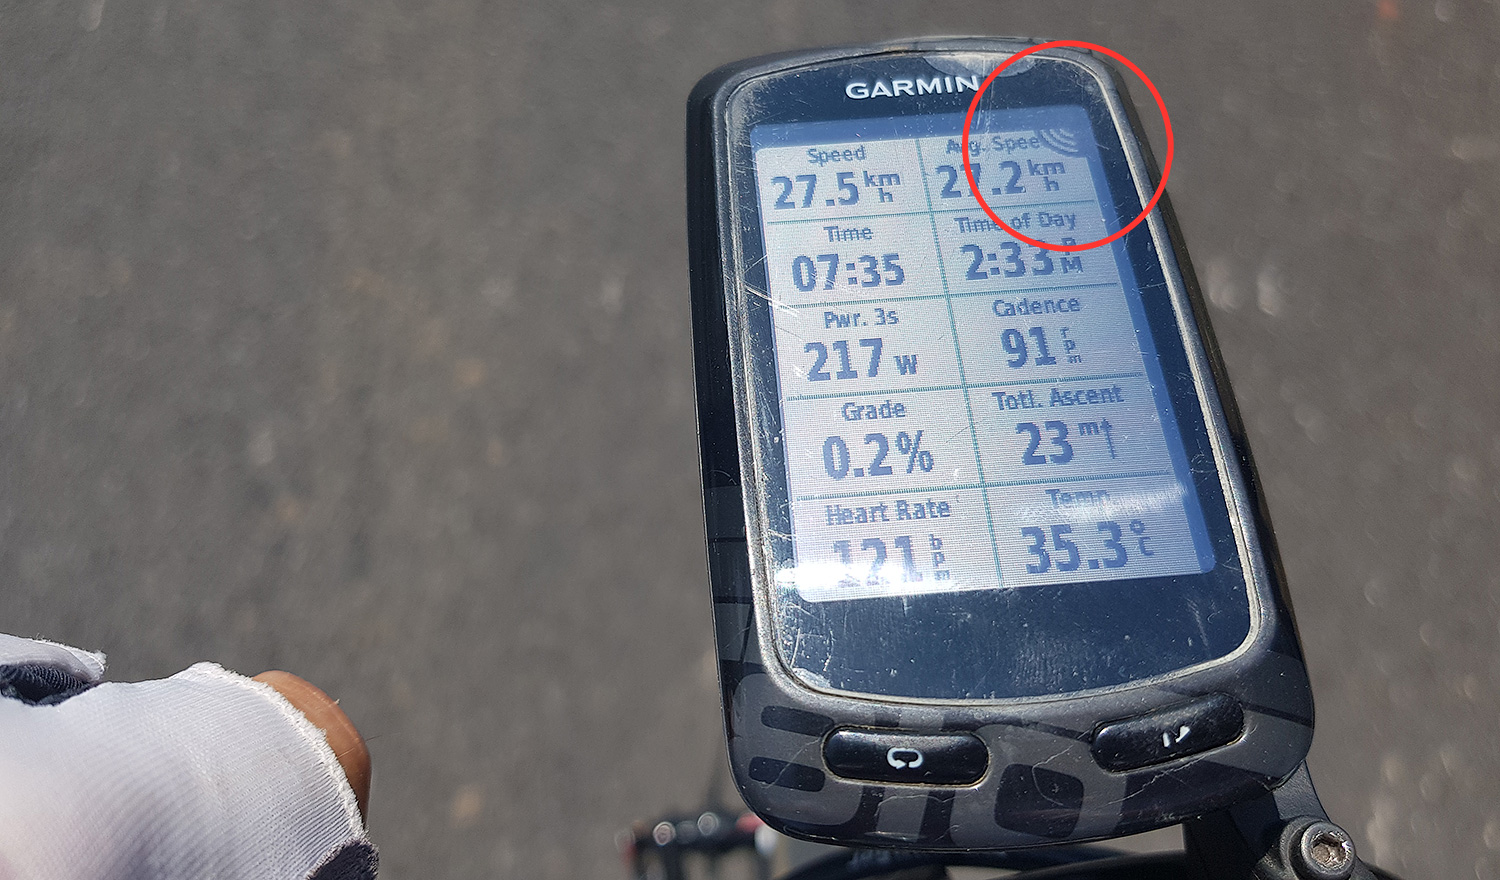
The radar symbol in the top right corner, showing that it’s connected
The RTL510 can detect vehicles approaching from behind up to 140 meters (153 yards). When the radar has detected a vehicle your Edge will beep (if audible tones are turned on in the settings) and you’ll see two colored bars on your screen, either amber or red. Amber indicates a vehicle is approaching. Red indicates a vehicle is advancing at a high rate of speed. To be honest, the difference between amber and red is not very noticeable when you’re riding on very sunny days, but when you cycle in Sicily the bars will probably be red most of the times…
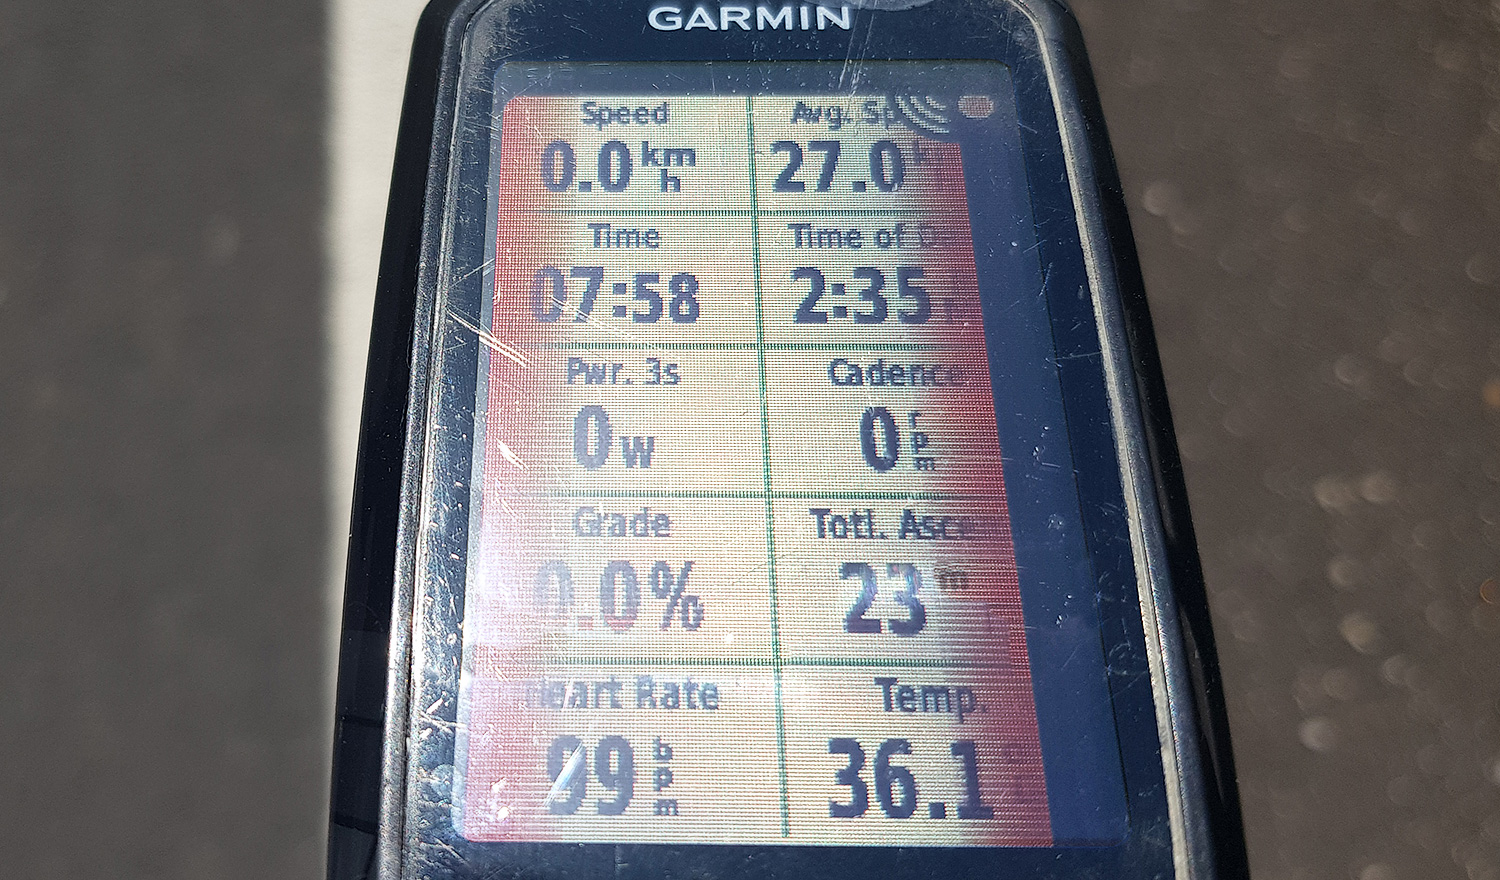
Red stripes: the radar has detected a car
A vehicle is represented by a dot on the right side of the screen. On the Edge 810 you can’t choose on which side you’ll see the dots. On other units you can actually choose left if you like. This also means that the dot doesn’t show you in which lane a vehicle is approaching. So, if a car approaches you on the left side of the road, the Edge will not show a dot on the left side of the screen.
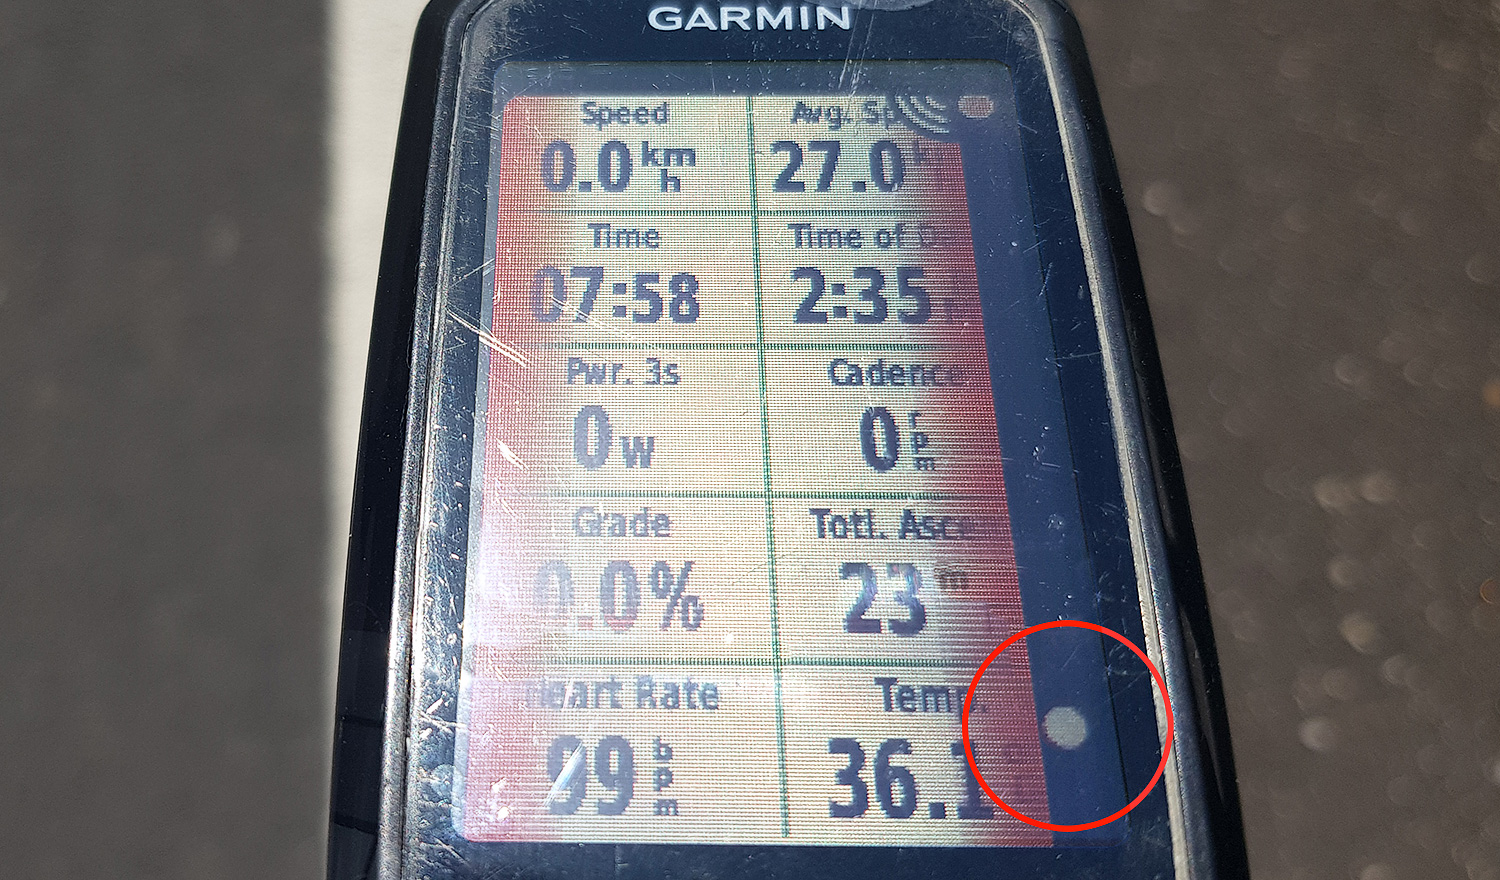
A dot shows the position of the car behind you
Now you’ll see the dot moving to the top of the screen. When the dot is at the top right corner, the vehicle is right behind you.
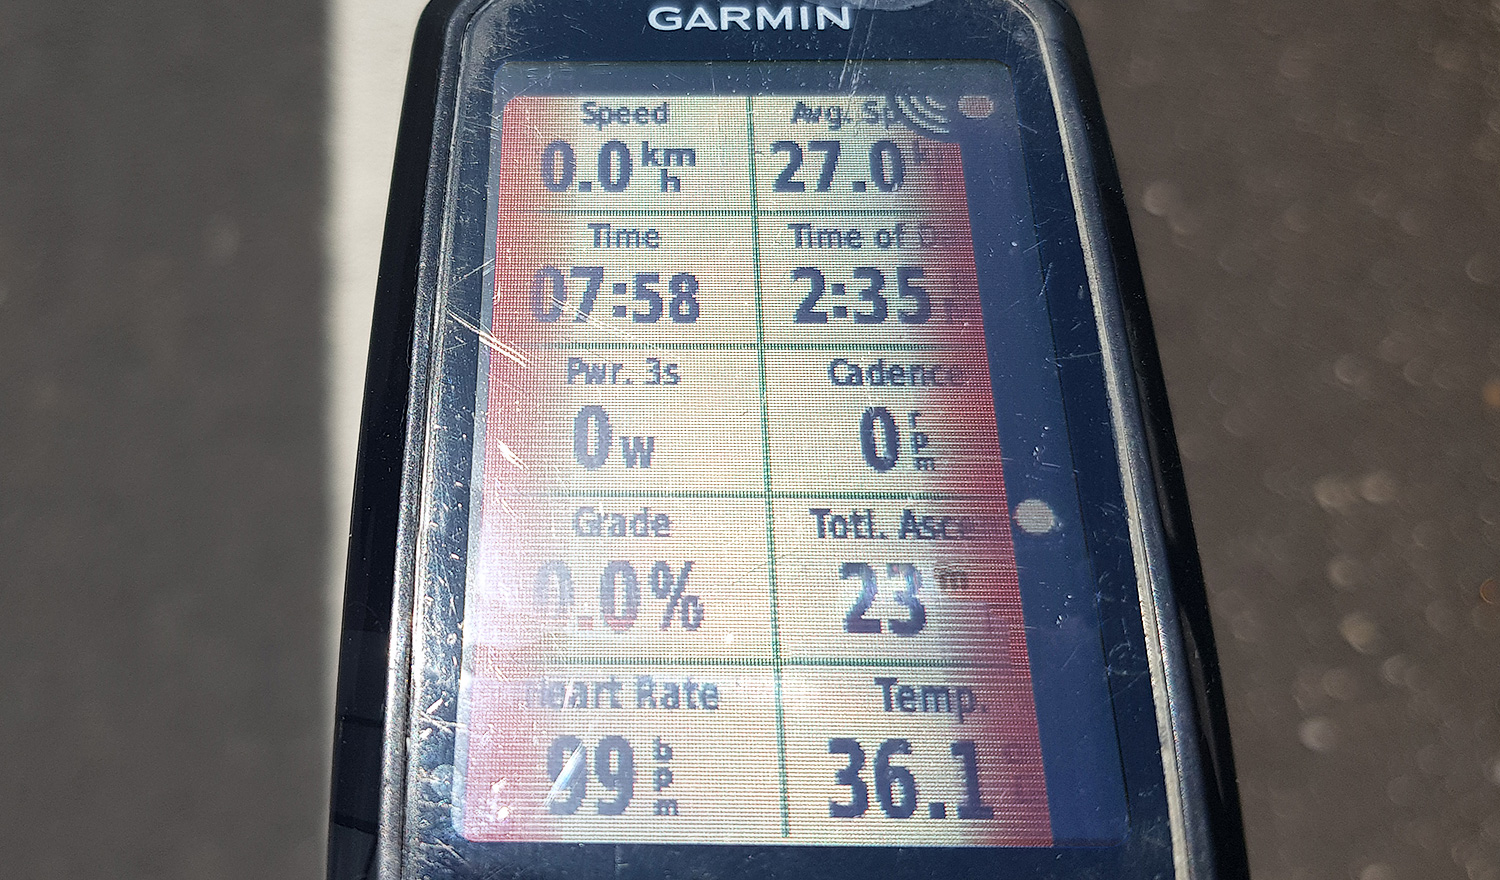
The dot is moving up – 1

The dot is moving up – 2
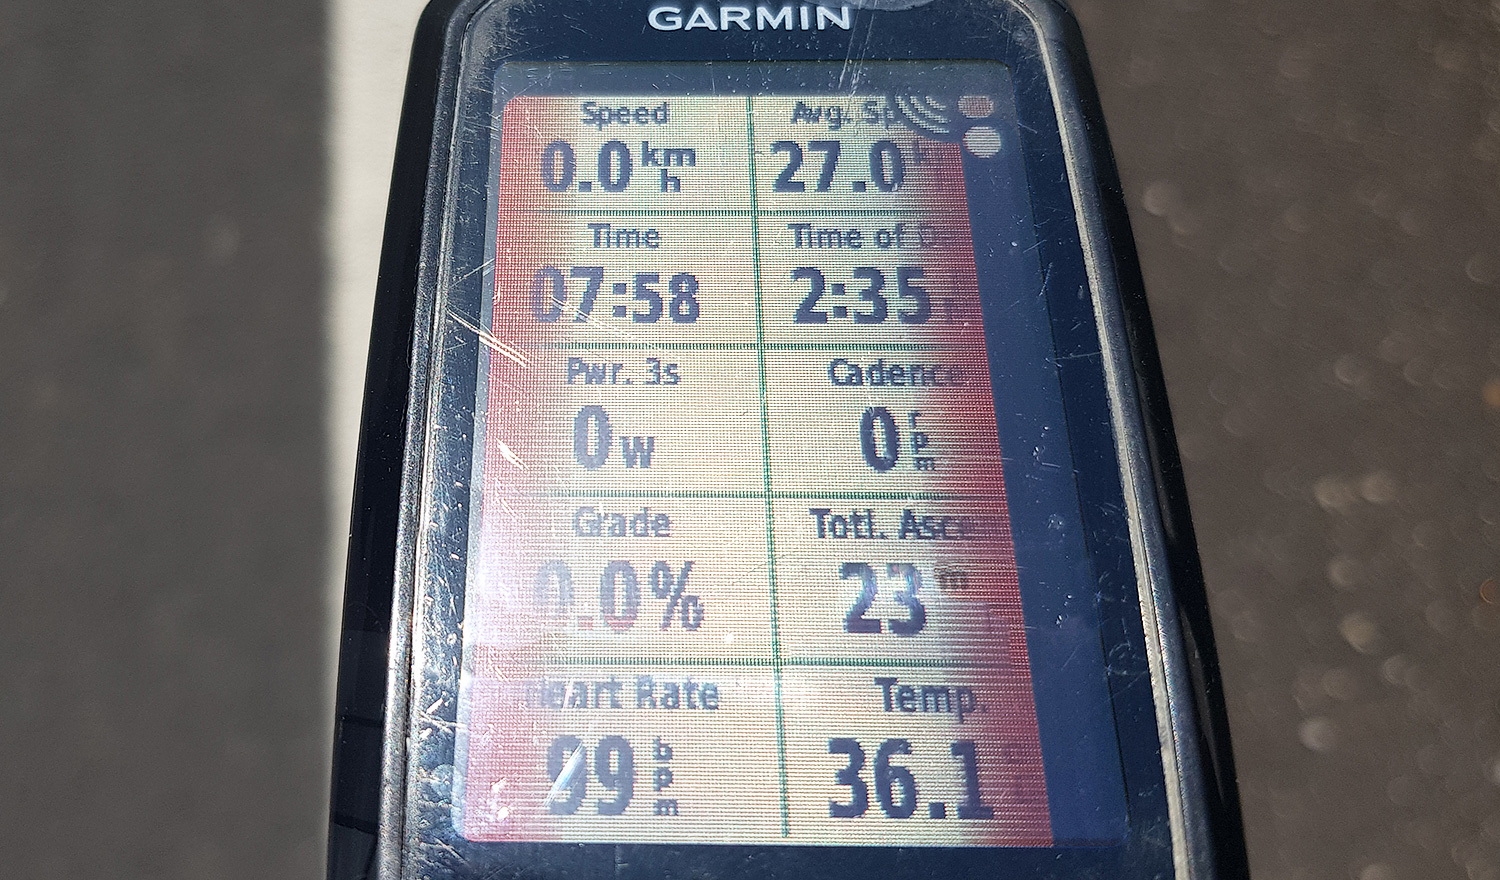
The Edge shows that a car or other vehicle is right behind you
As soon as the car has passed and no other vehicles are in sight, you’ll see two green bars, showing you that the coast is clear.
The coast is clear. No other cars are detected.
Here’s a short clip showing you what you’ll see on the screen of your Garmin Edge. The video of the approaching car was shot with one of my Garmin VIRB Ultra 30 cameras.
As mentioned, the radar detects vehicles up to 140 meters away. It beeps when it sees a car, a truck, a scooter, a motorcycle and even two or more cyclists. The radar can detect up to eight approaching vehicles, so your screen could be filled with dots:

Multiple vehicles spotted
When does it work?
The RTL510 works best on straight roads and winding roads without really tight curves (so, in most cases). It detects all vehicles 99% of the time, so after having used the radar for many hours, only a few cars weren’t detected by the unit on these kind of roads. This does mean that you can’t rely on the radar to detect all approaching cars! Sometimes the unit showed me the two green bars, while there was still a car behind me. This can be caused by the fact that the radar does not detect vehicles traveling at the same speed as your bike.
The beep can be heard easily, both in strong head winds and on a descent. Like I wrote before, the difference between the amber and red bars is not very clear when you’re cycling on sunny days. However, as soon as you hear the beep and you look down, the dot(s) will show you quite easily whether the car is approaching very fast or not.
I find the beeps and dots in no way distracting. The dots are large enough to notice quickly, so you won’t be staring at your screen while you should be watching the road.
When does it not work?
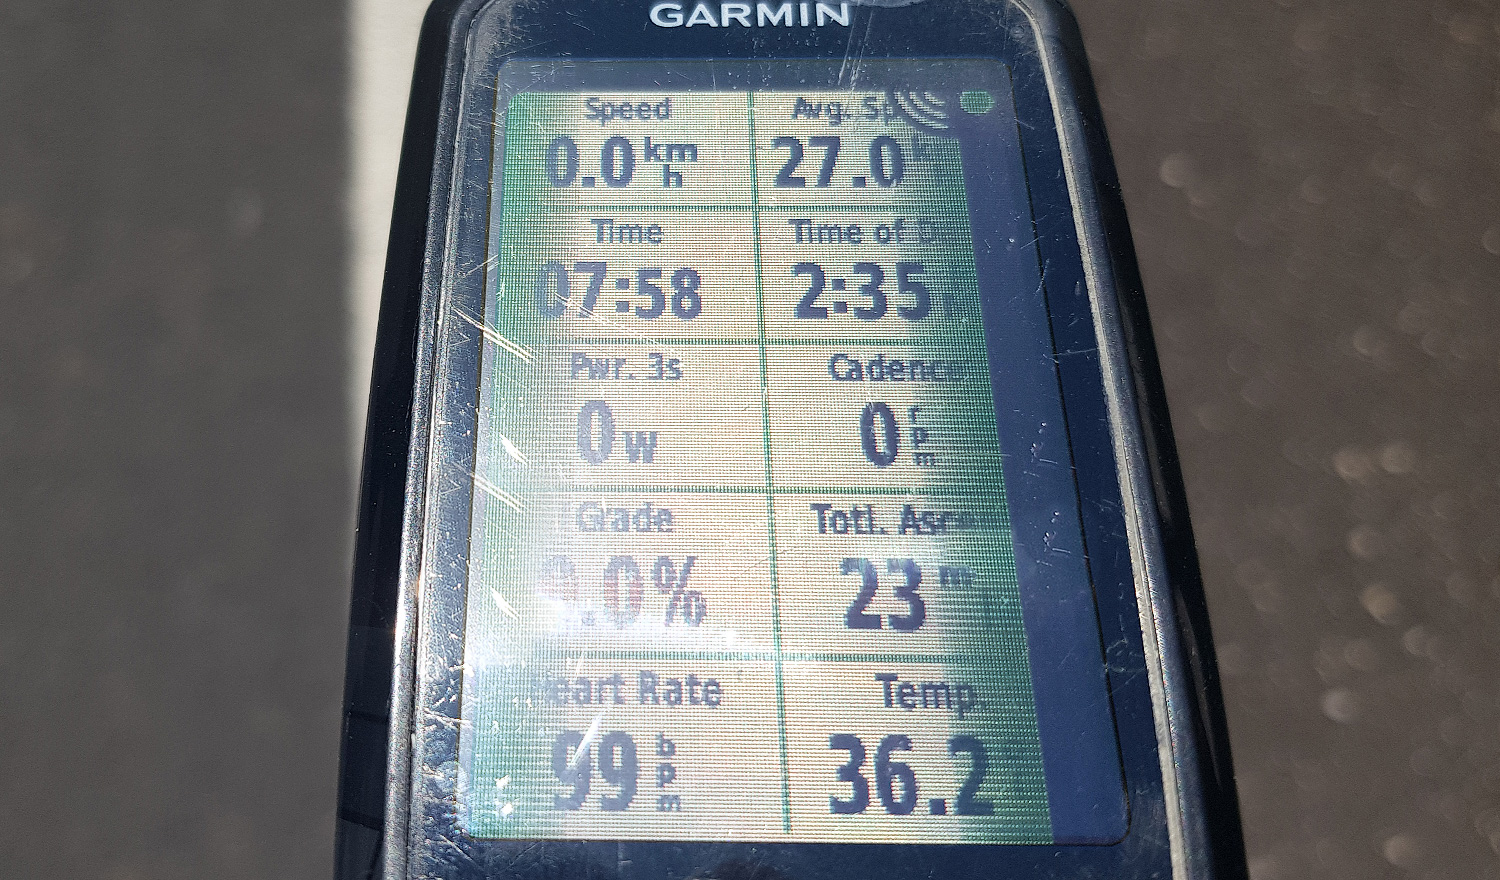
The unit almost always works, but in some cases vehicles are not always detected. I noticed this on busy crossroads, where there are many cars driving in several directions. The radar also works less well when you’re on roads with many (blind) curves. The manual says “The radar beam width is 40 degrees. It provides radar coverage for typical bends in the road.” This means that the tight curves you can find on certain climbs might cause a problem. In fact, when I tested the unit on a few climbs, it didn’t detect some cars until they came around the corner and were already right behind me. Due to the high speed of those cars, the low speed I had (7% climb) and the many tight curves, the radar detected some cars only when they were already very close to me. On winding roads it’s possible that your radar will detect a vehicle, but loses it when you go around a corner. It will then re-detect it as soon as the vehicle is within the radar’s range. I don’t think this is a problem. Once you noticed the dot on your screen, you’ll understand why it disappears when you go around a corner and you’ll expect it to pop up again later.
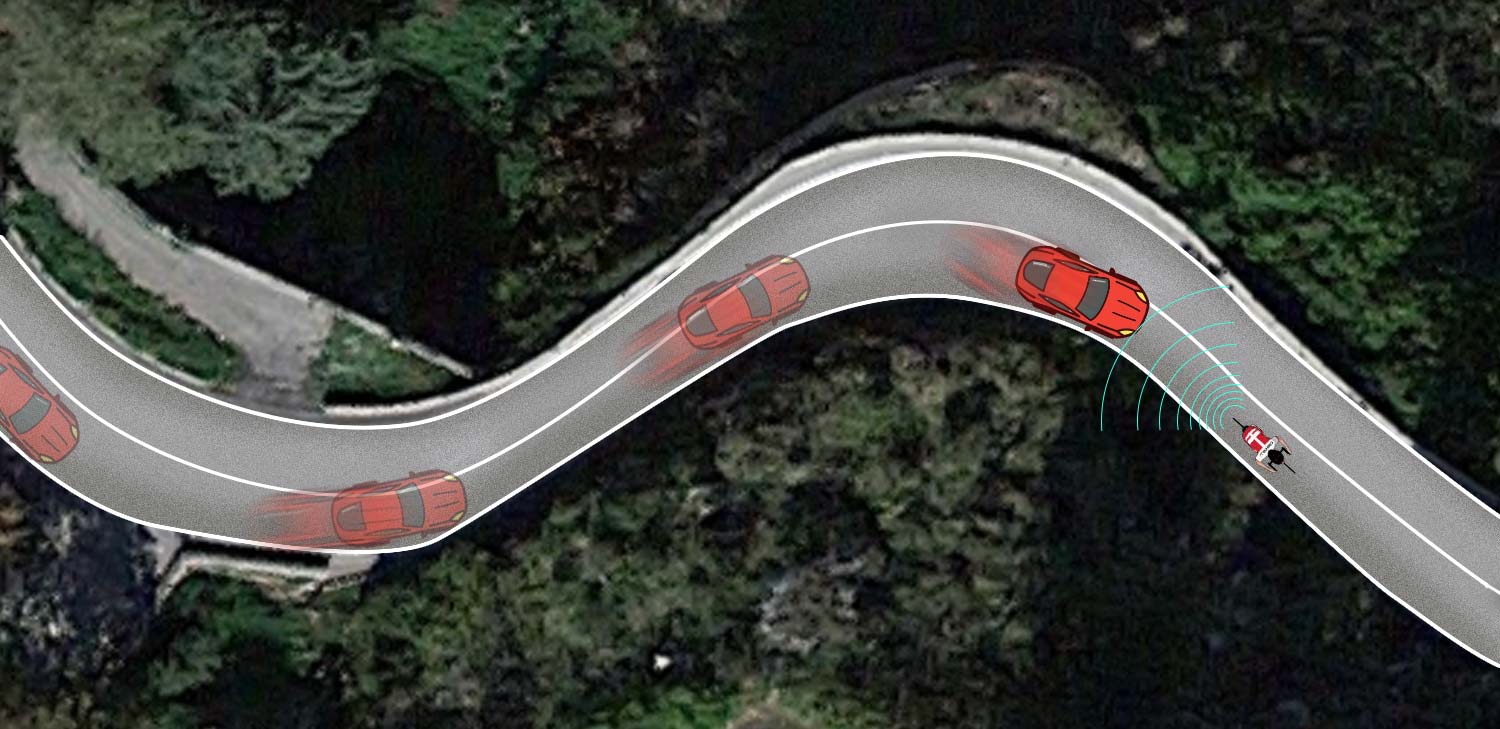
When cars approach fast on a climb with many tight curves in the road, the radar detects them quite late.
Even though the bike radar won’t detect all vehicles all of the time, I feel much safer because in most cases I know cars are approaching.
So far I’ve been talking about the vehicle detection, but the RTL510 is also a rear light. The red rear light is very bright and it will really help you be (much) more visible when you’re out on your bike, even during the day. Here are a few pics I took in the evening:
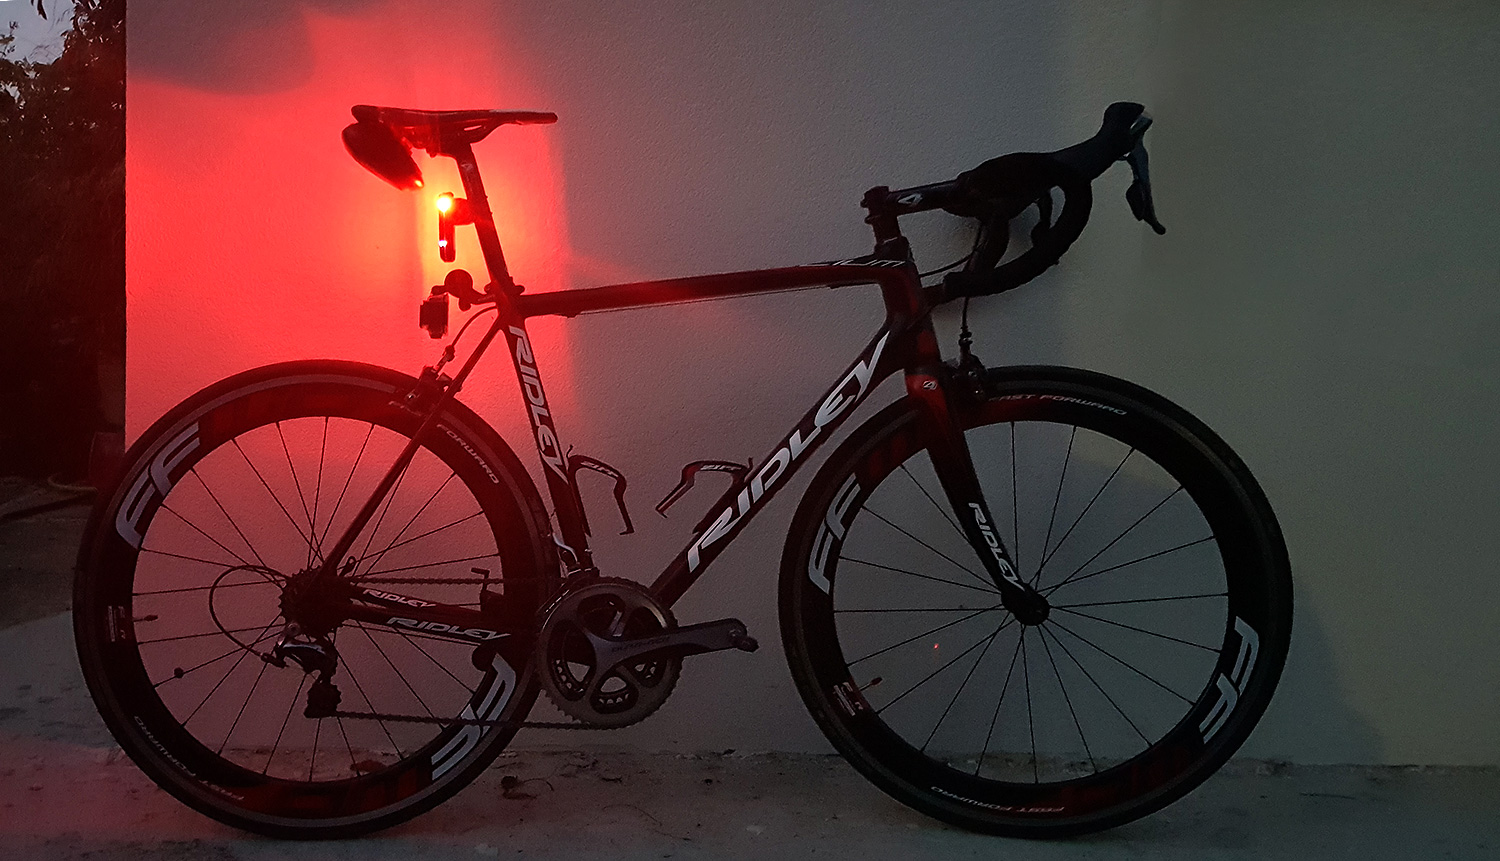
The rear light at night

We can safely conclude that you’ll be quite easily visible at night.
The rear light has 4 modes: a solid mode, a night flash / “close encounters of the third kind glow” mode and a day flash mode. The fourth mode is the standby mode. NB When the unit is in this mode, no vehicles will be detected! In solid mode the unit has up to 6 hours of battery life. When you prefer the “alien glow mode” it’s still up to 6 hours, but in day flash mode the battery lasts for up to 15 hours. Whatever mode you choose (except for the standby mode), the unit will start to flash (when in solid mode) or flash faster when a car gets near you. Here’s what it looks like:
I believe the moment the sun starts to set is the most dangerous time of day for being on your bike. The low sun often bothers motorists, so a bright, flashing light that also starts to flash faster when cars getting close to you, will certainly help avoid accidents.
The pros and cons:
Let’s start with the pros.
- The radar is quite precise and detects most of the approaching vehicles.
- The Garmin Edge clearly shows detected vehicles.
- In daylight flashing mode the unit has more than enough battery life for longer bike rides.
- It certainly makes me feel much safer on the bike, also thanks to the bright rear light.
- You can connect more than one Edge, so your cycling buddy/buddies can also enjoy the advantages of your radar (as long as they’re close to you).
- The unit is light and the mount is small, so you won’t bump into it while pedaling (like I did with the VIRB mount)
Now some cons:
- Sometimes you get false positives (dots showing up on your Edge, while there are no cars behind you)
- Not all vehicles are detected
- Using the radar will drain the battery of your Edge very quickly!
- It’s not particularly cheap.
As mentioned above, one of the cons is definitely the fact that using the radar drains the battery of my Garmin very fast! I’ve tested the battery life with and without connecting the two VIRB cameras, but it’s clear that it’s the RTL510 that causes the battery level to drop in an alarming rate. After 1.5 hours om the bike, the level will drop to about 67% and about three hours into a ride my Garmin has less than 40% left. When I did a longer ride, my Garmin had no juice left after 4.5 hours, so I was without bike computer for the last 30 minutes. Soon I will be able to see whether this is an issue only my Garmin 810 has, because I just ordered the Edge 1030. I will update this blog post after I tested the battery life of the new 1030. Edit: click here for the update.
One option to avoid the radar draining your Edge’s battery, is buying the bundle, so you’ll have the separate standalone handlebar display unit, which has its own battery.
Conclusion:
Since I bought the Garmin Varia RTL510 radar tail light I used it on every ride. I just love it! While the battery draining issue is annoying, using the unit has many advantages. I feel safer on the bike (especially on descents and when cycling alone) now that I’m notified when there are cars behind me and it’s clear that the rear light makes me very visible to approaching vehicles. The RTL510 is no gadget, but an excellent tool to improve safety on the bike. You can buy the Varia radar tail light for around 190 Euros.
NB I bought the unit online. I was not financially compensated for this post. The opinions are completely my own, based on my experience.
 Ciao! I'm Don Bici and I'm a cycling guide on the sunny island of Sicily and ambassador for


Thanks for the review. What was the conclusion re battery life with the new computer?
Ciao Martin,
You’re welcome! I still have to update the post, but the Edge 1030 clearly has much more battery life. With all sensors, two VIRBs and the radar connected the bike computer consumes about 10% per hour, so you’d have no issues on longer rides.