Photoshopping Polar bottles – part 2
In Photoshopping Polar bottles – part 1 I showed you the process of making two of the Polar Bottle-themed images I had posted on Instagram, Twitter and Facebook since I became an official ambassador for Polar Bottle USA. In this post I’ll be showing you how I made the other two.
TIP: click on an image to view the larger version.
A juggling act
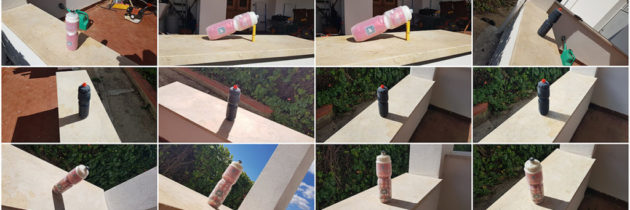
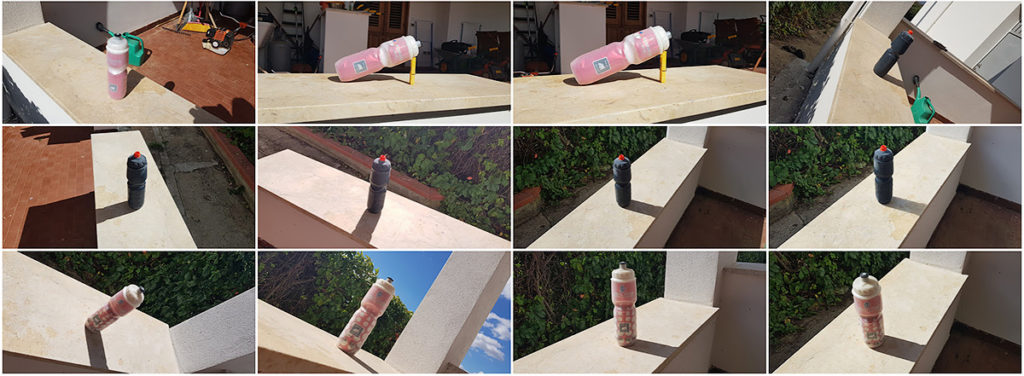
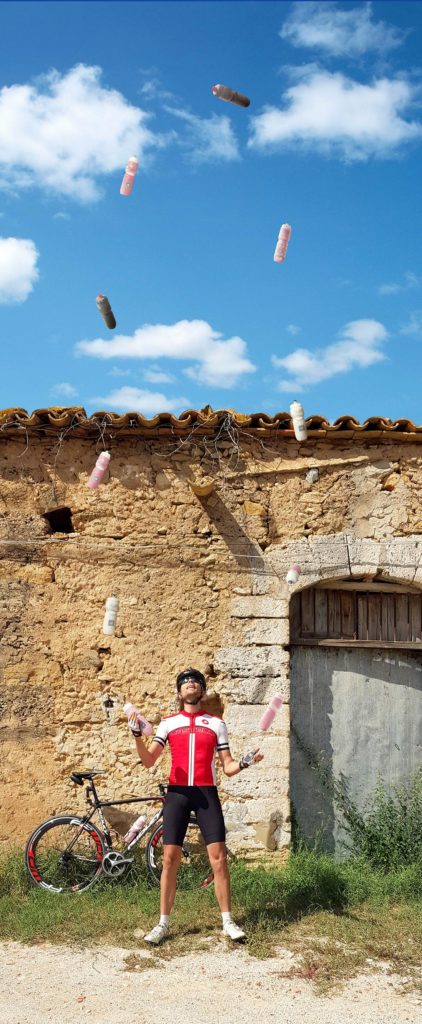
I got the idea for this image when reading about juggling family, work and cycling. I thought that juggling lots of Polar bottles would be nice, so I started photographing my water bottles from different angles. This would help with getting the sun light from the correct angle, when rotating the bottles in the image.
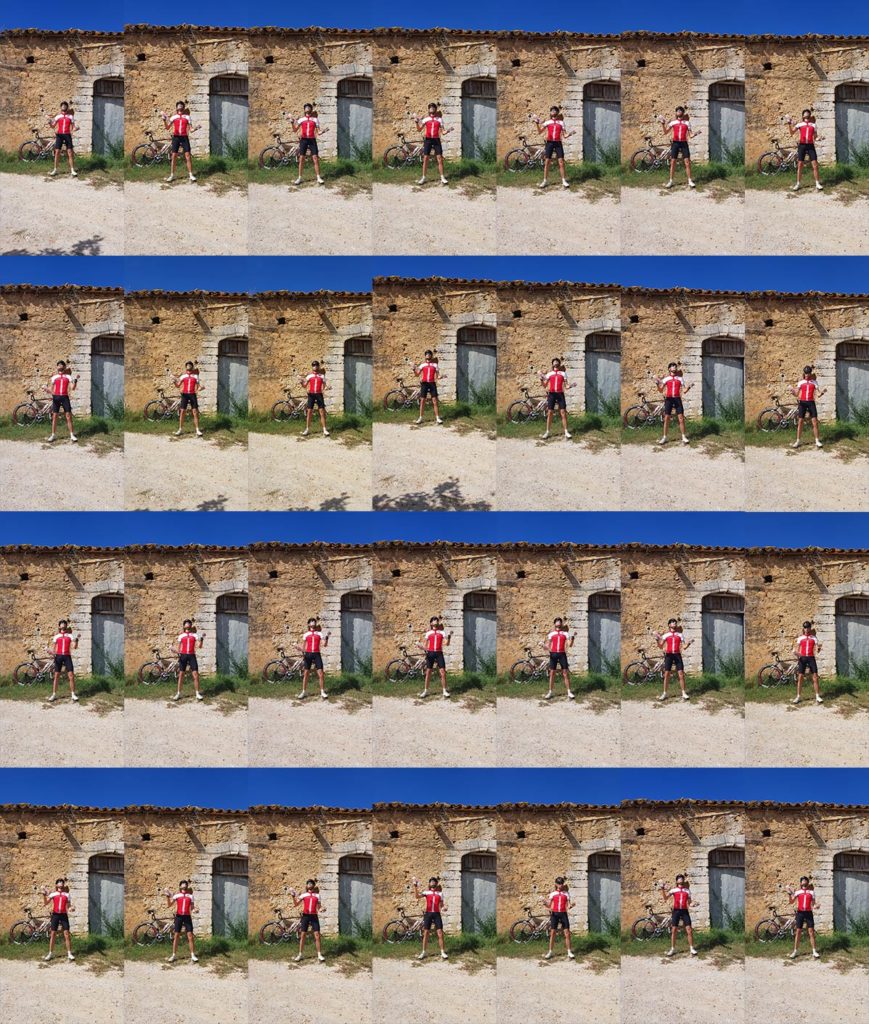
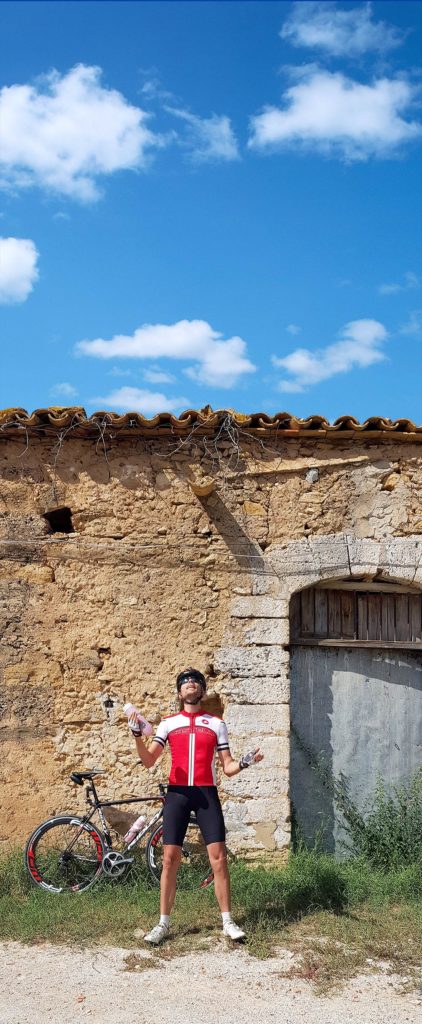
I also needed an image of me in a juggling position, so I asked my girlfriend to take lots of pictures so I would have enough to choose from.
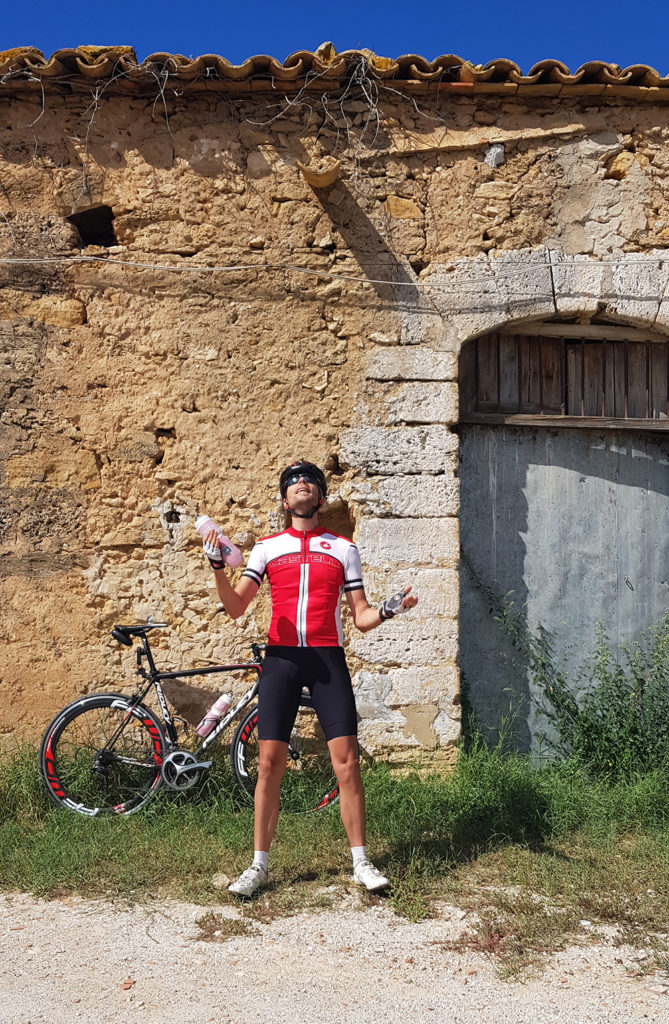
I decided to go with this one:
Next, I added extra space above the barn, added some clouds and did some minor tweaks (like deleting the wrinkles in my jersey).
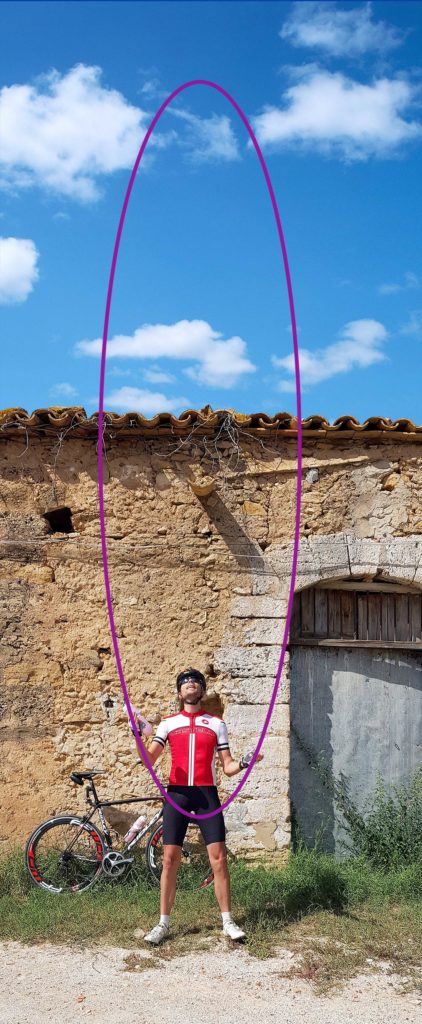
Now I needed a guide for the positioning of the bottles, so I drew a juggling arc onto a separate layer of the image (so I could delete that layer afterwards).
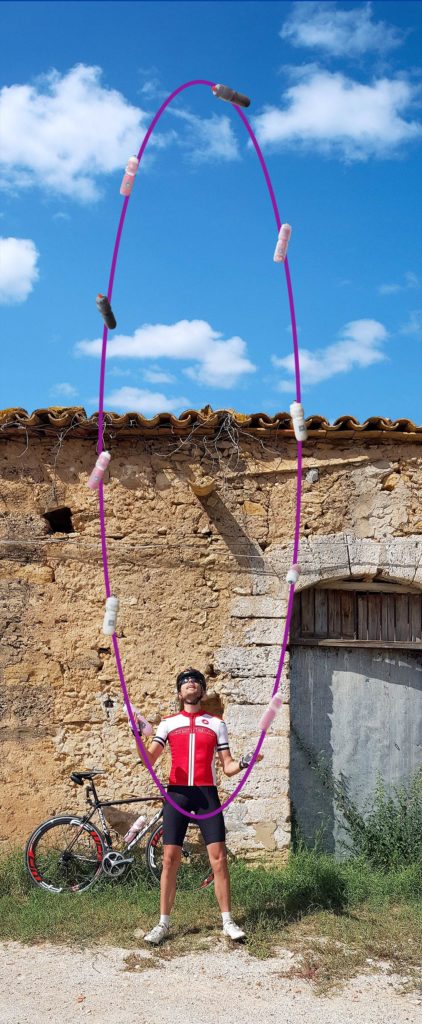
After I cut out all the individual Polar bottles from their pictures, I placed them on the arc and rotated them, so it would look like the sun light hit every bottle from the correct direction.
And after some final tweaks, like adding some shadows and tweaking some colors, I was done!
it’s melting hot outside
When working out an idea in Photoshop it’s often hard to find the right balance between the time I spend on it and the desired end result. Of the four Polar bottle themed images the next one is the one that took the most hours to produce and it’s also the one I’d still wanted to invest more time in to get all the details right.
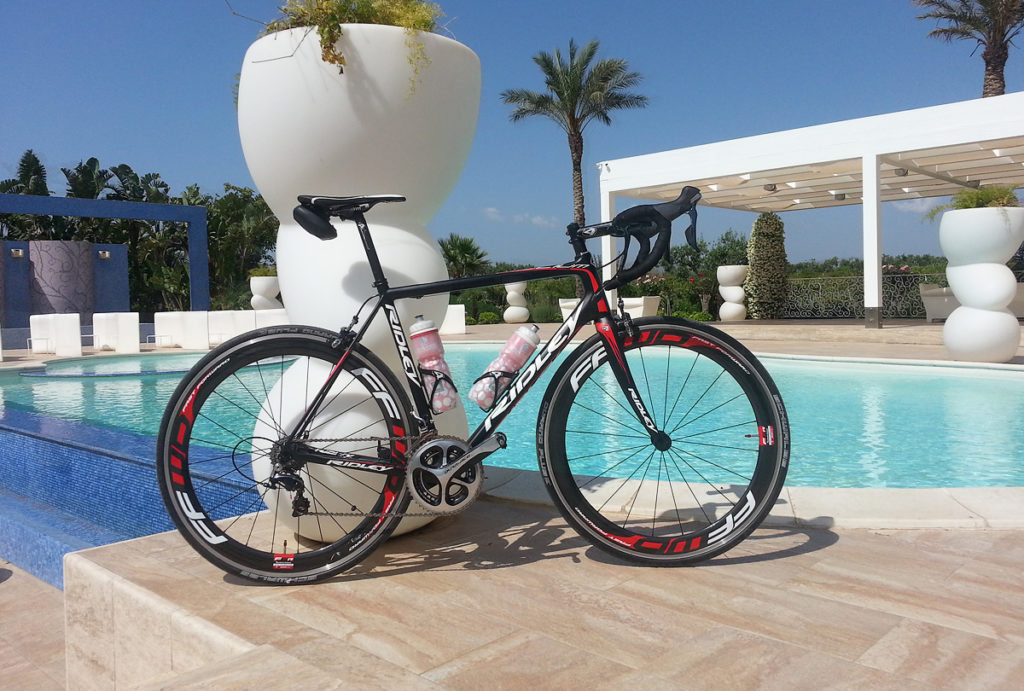
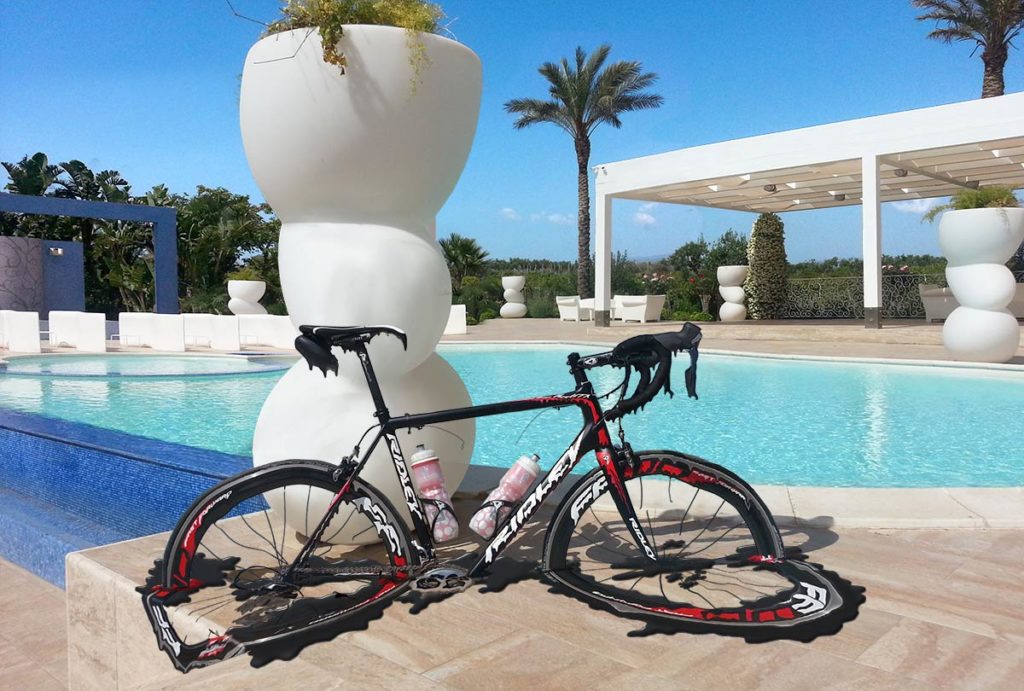
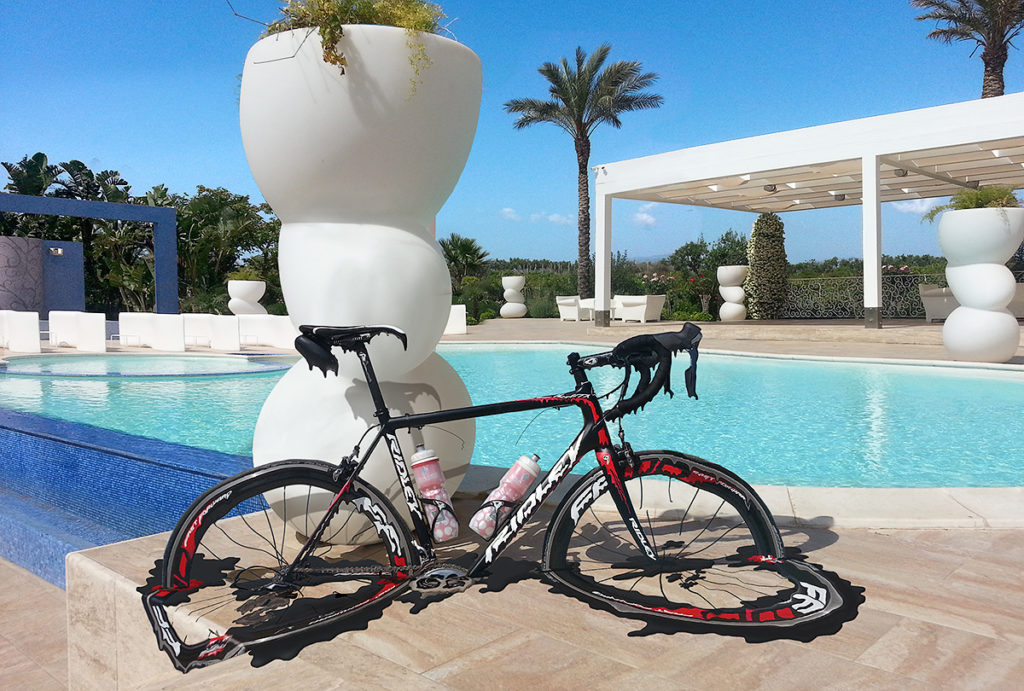
I thought about how happy I am to have my Polar bottles with me on the hot summer bike rides and decided for my next project to take the warm Sicilian climate to the extreme, where the whole bike would melt except for the two Polar bottles… This is the image I started with. It’s my Ridley Helium SL photographed near the swimming pool of the Borgo delle Olive.
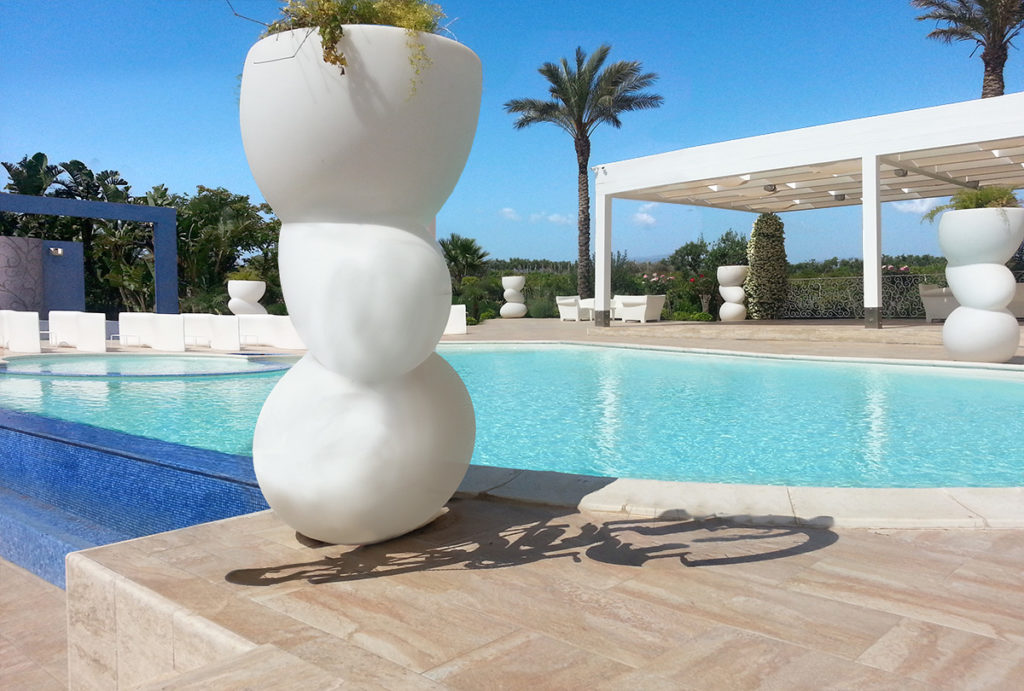
First, I needed to cut out the bike from the image and “repair” the background.
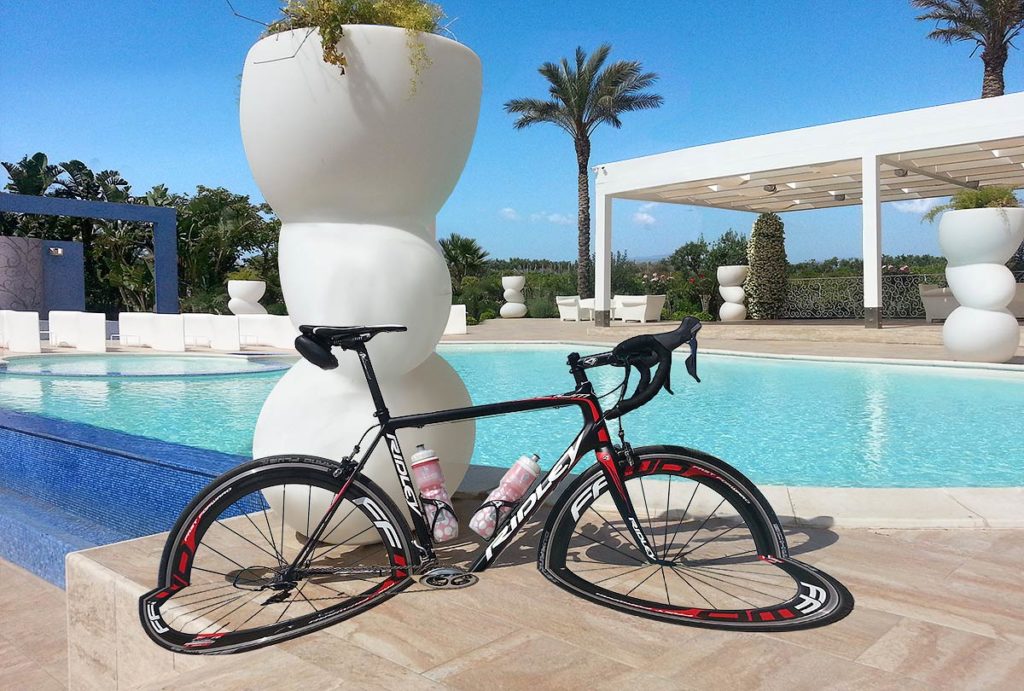
Then I cut the bike in two parts and positioned them on the background.
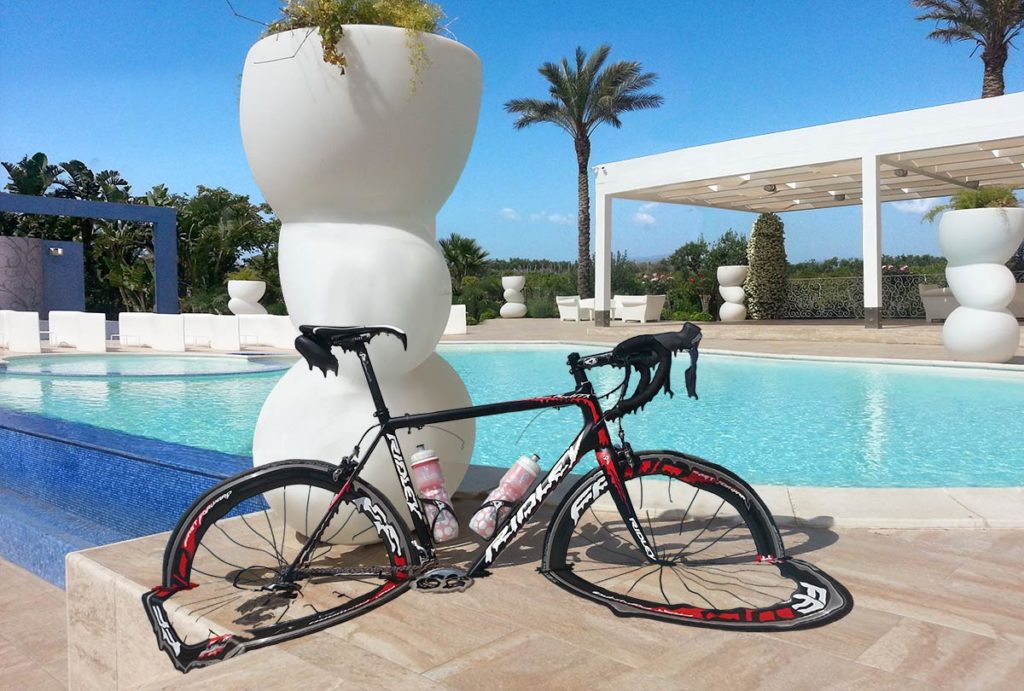
The melting effect was achieved by hand using the liquify filter in Photoshop.
Then I needed to make a puddle of melted bike material.
For the final result I added the bike shadow on the white flower pot behind it.
I hope you liked the “making of series”. If so, follow me on Instagram and Twitter for more cycling related images.

 Ciao! I'm Don Bici and I'm a cycling guide on the sunny island of Sicily and ambassador for
