A day at Ridley Bikes in Belgium
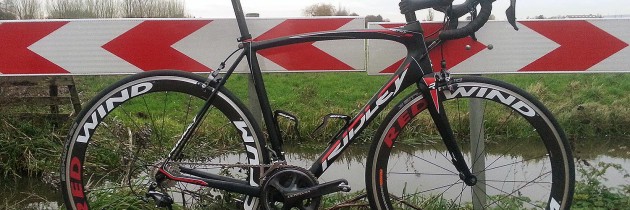
Before saying farewell to my trusty Ridley Excalibur in November of last year, I already knew what my new winter bike would be. That is, I knew I wanted the Ridley Fenix SL frame and the same 4za handlebars I have on my Helium SL, but I was still figuring out with what parts to complete the new bike. I visited my friends at Eurobici in Partinico and chose the following items:
Shimano Ultegra groupset
Selle San Marco regale carbon saddle
Ritchey stem and seatpost
Speedplay titanium pedals
Zipp bottle cages
Cinelli cork ribbon
And with the Fulcrum wheels that came with the Helium SL (which I never used after I bought the FF powertap wheelset) the bike would be complete.
A few weeks later all parts had arrived, so all I needed was the frame and the handlebars…

Cinelli cork ribbon

Ritchey seatpost and stem
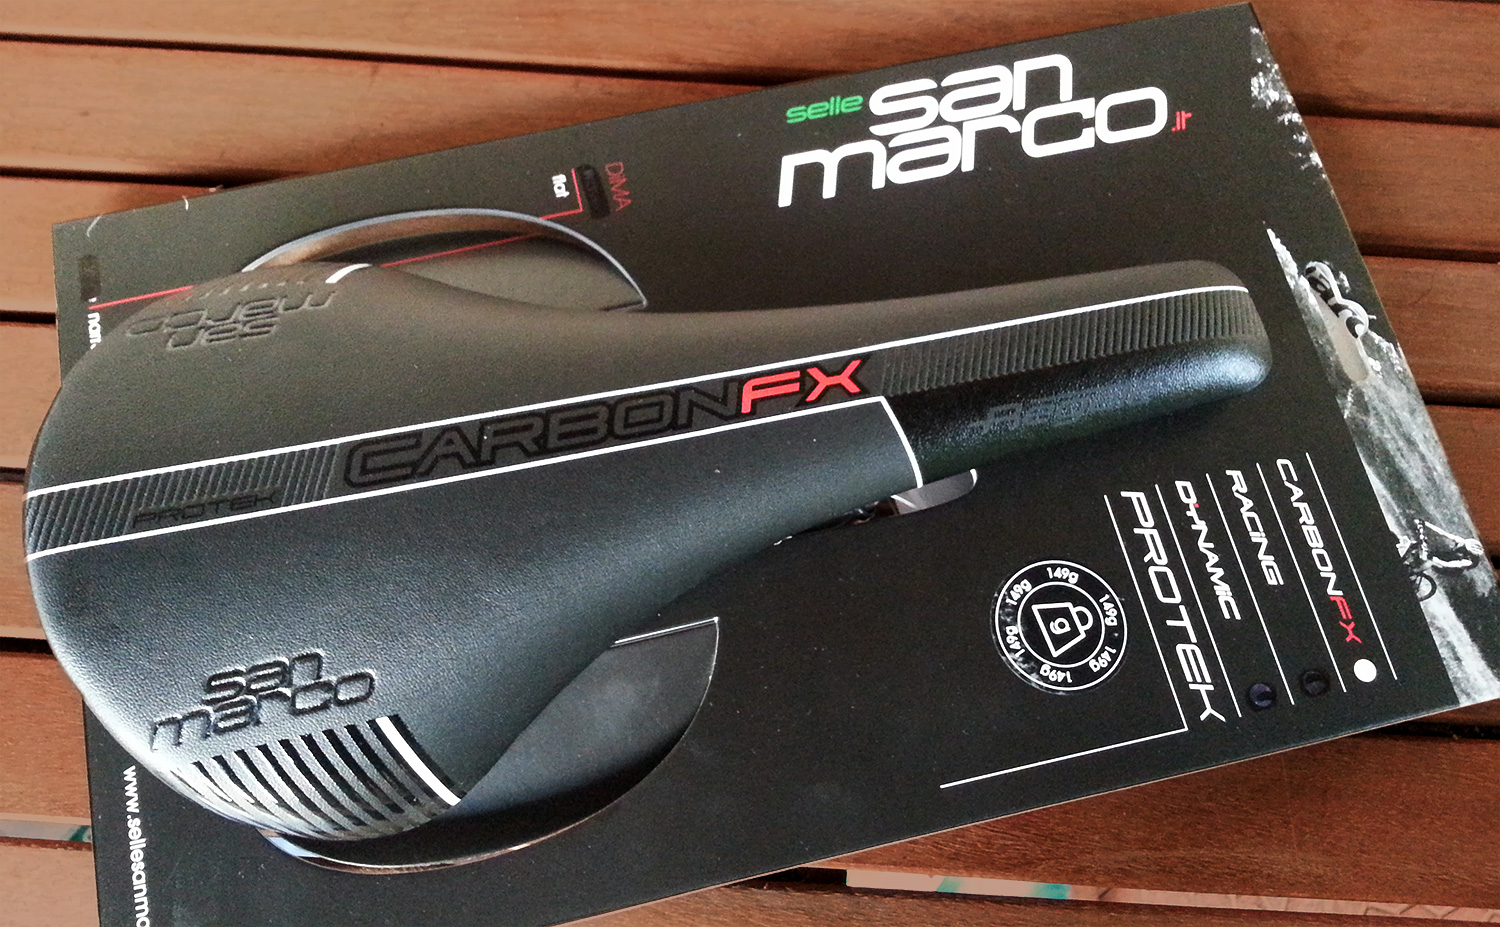
The Selle San Marco Regale saddle
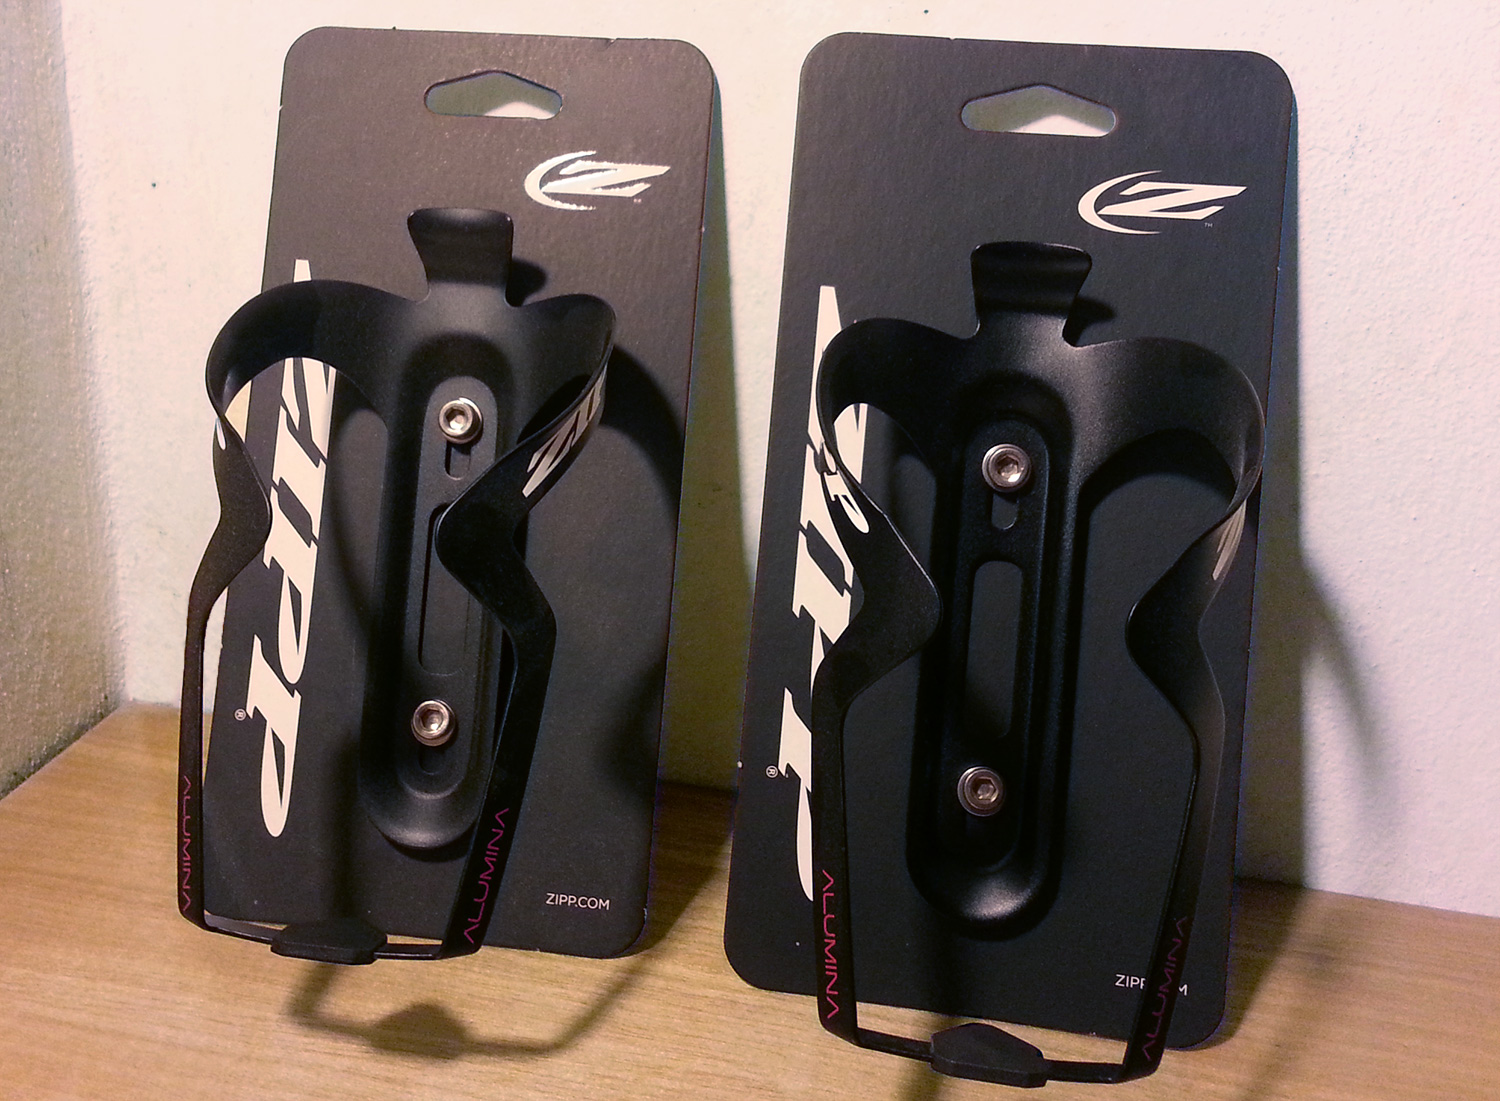
Zipp bottle cages
I contacted Ridley to see if I could visit the factory in Belgium and whether it was possible to have my bike assembled by one of their mechanics. After a few days I was contacted by commercial director Stephan Räkers, who invited me for a short tour. He wrote me that it would be difficult to organize my bike getting assembled by one of their mechanics due to the amount of bikes that they have to assemble daily, but he asked me to bring all the parts anyway in case he’d found a solution. So on a beautiful winter day I drove to the town of Paal-Beringen, where Ridley is located.
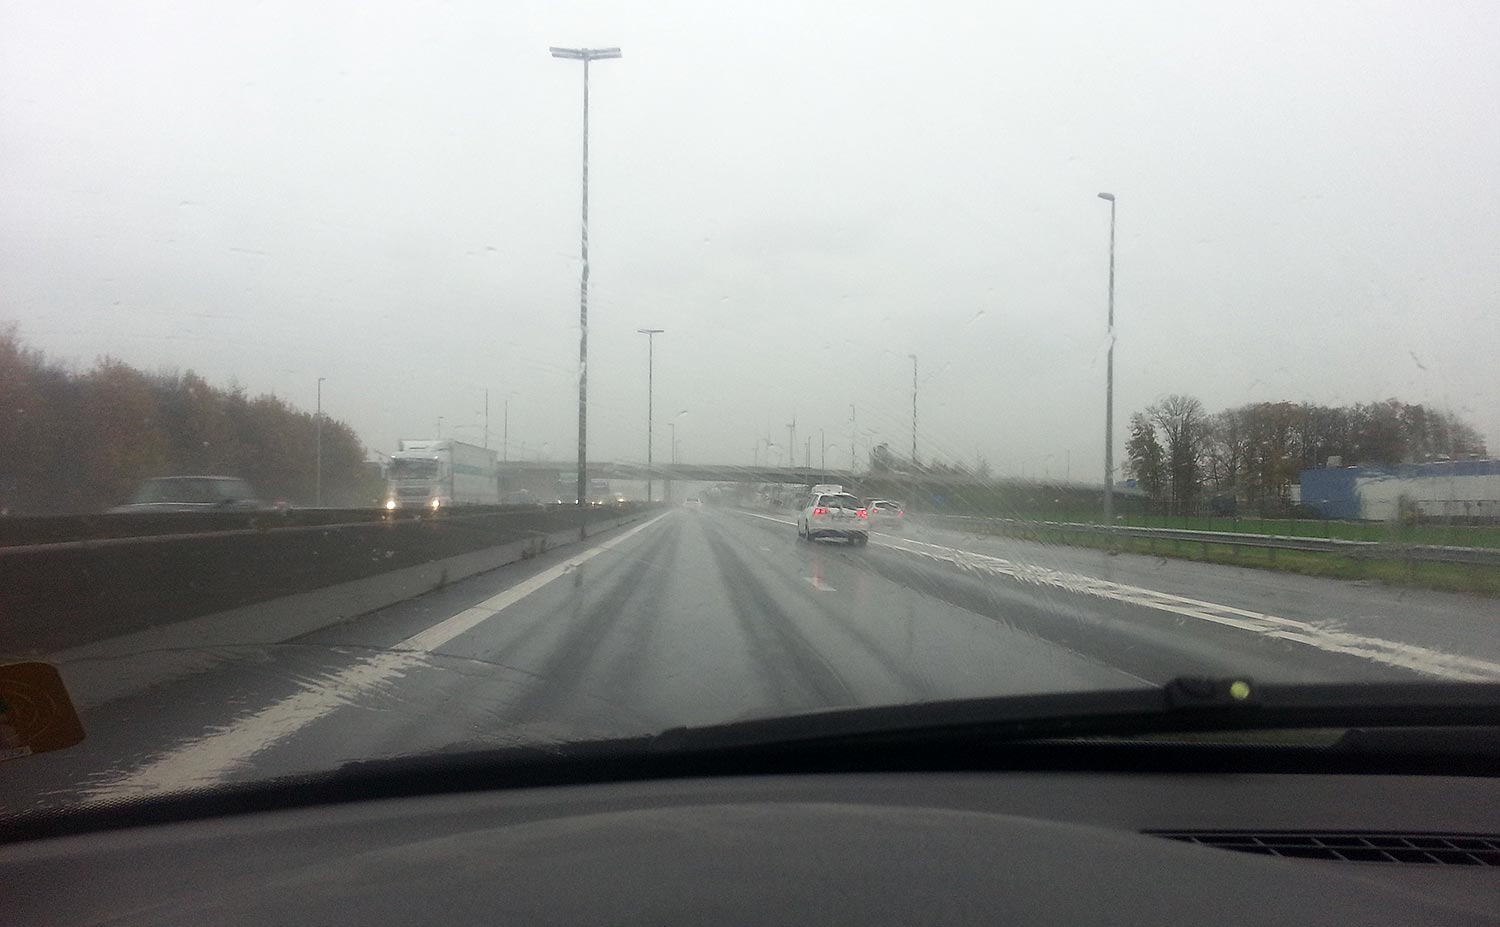
On my way to Ridley in Belgium
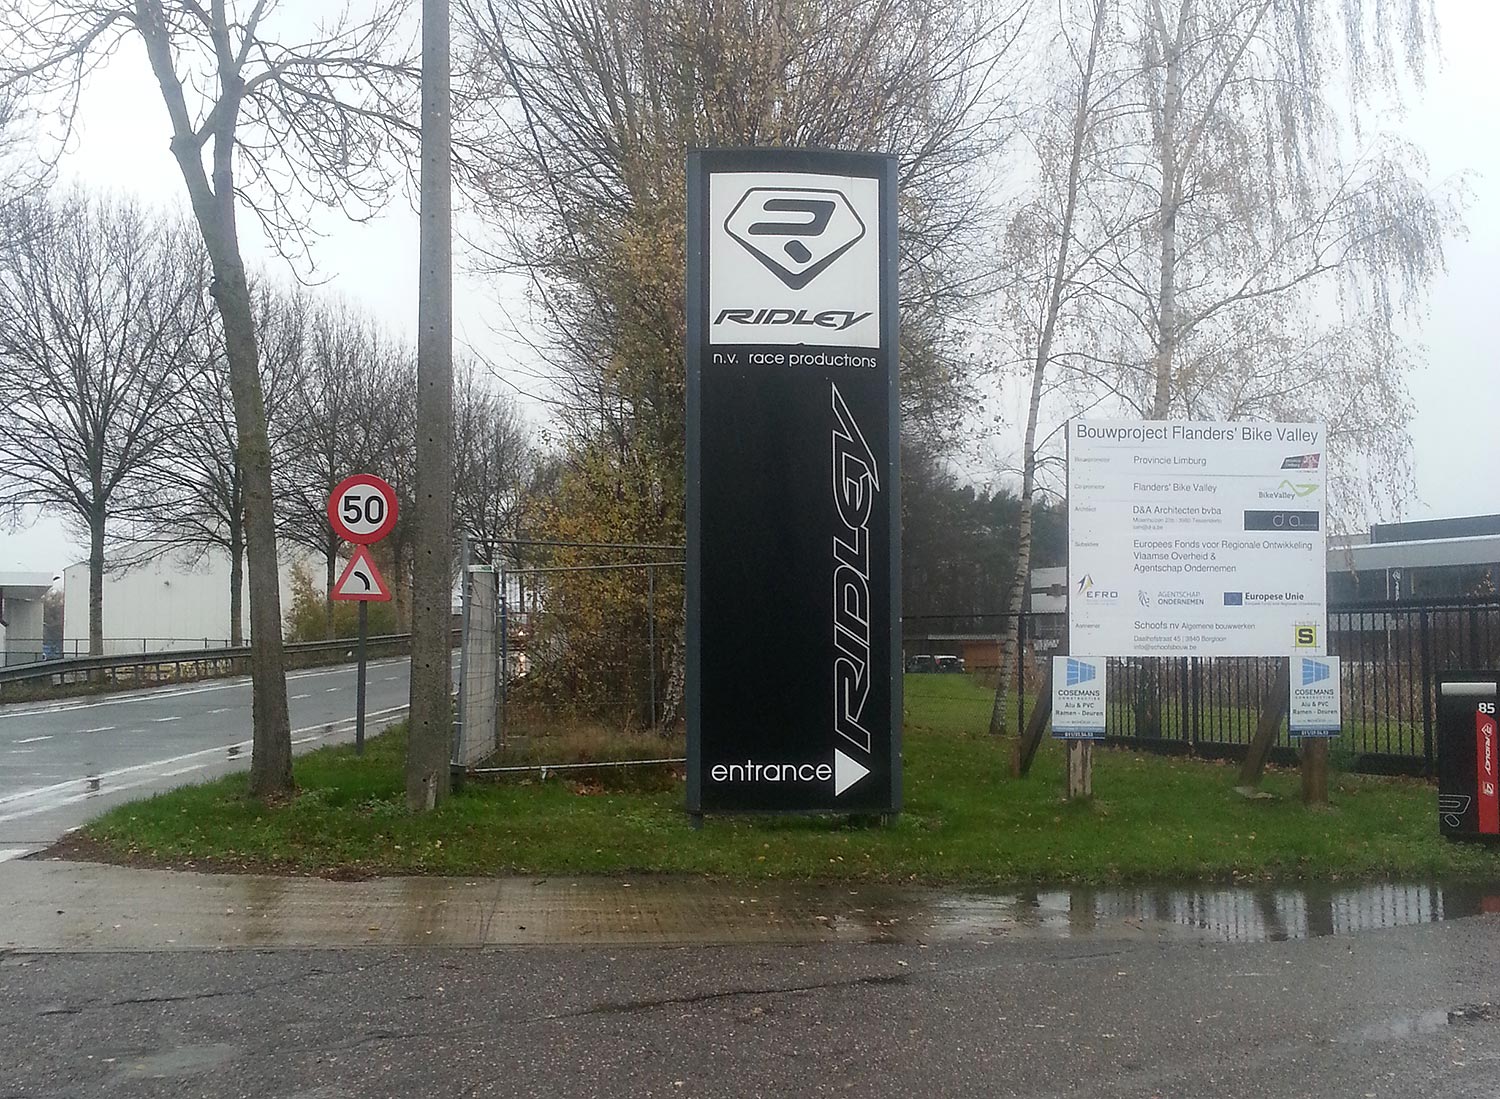
Arrived at Ridley in Paal-Beringen
I arrived at around 10:00 am in the morning at the production facility and after I signed in and received my visitor’s card, I was greeted by Stephan Räkers.
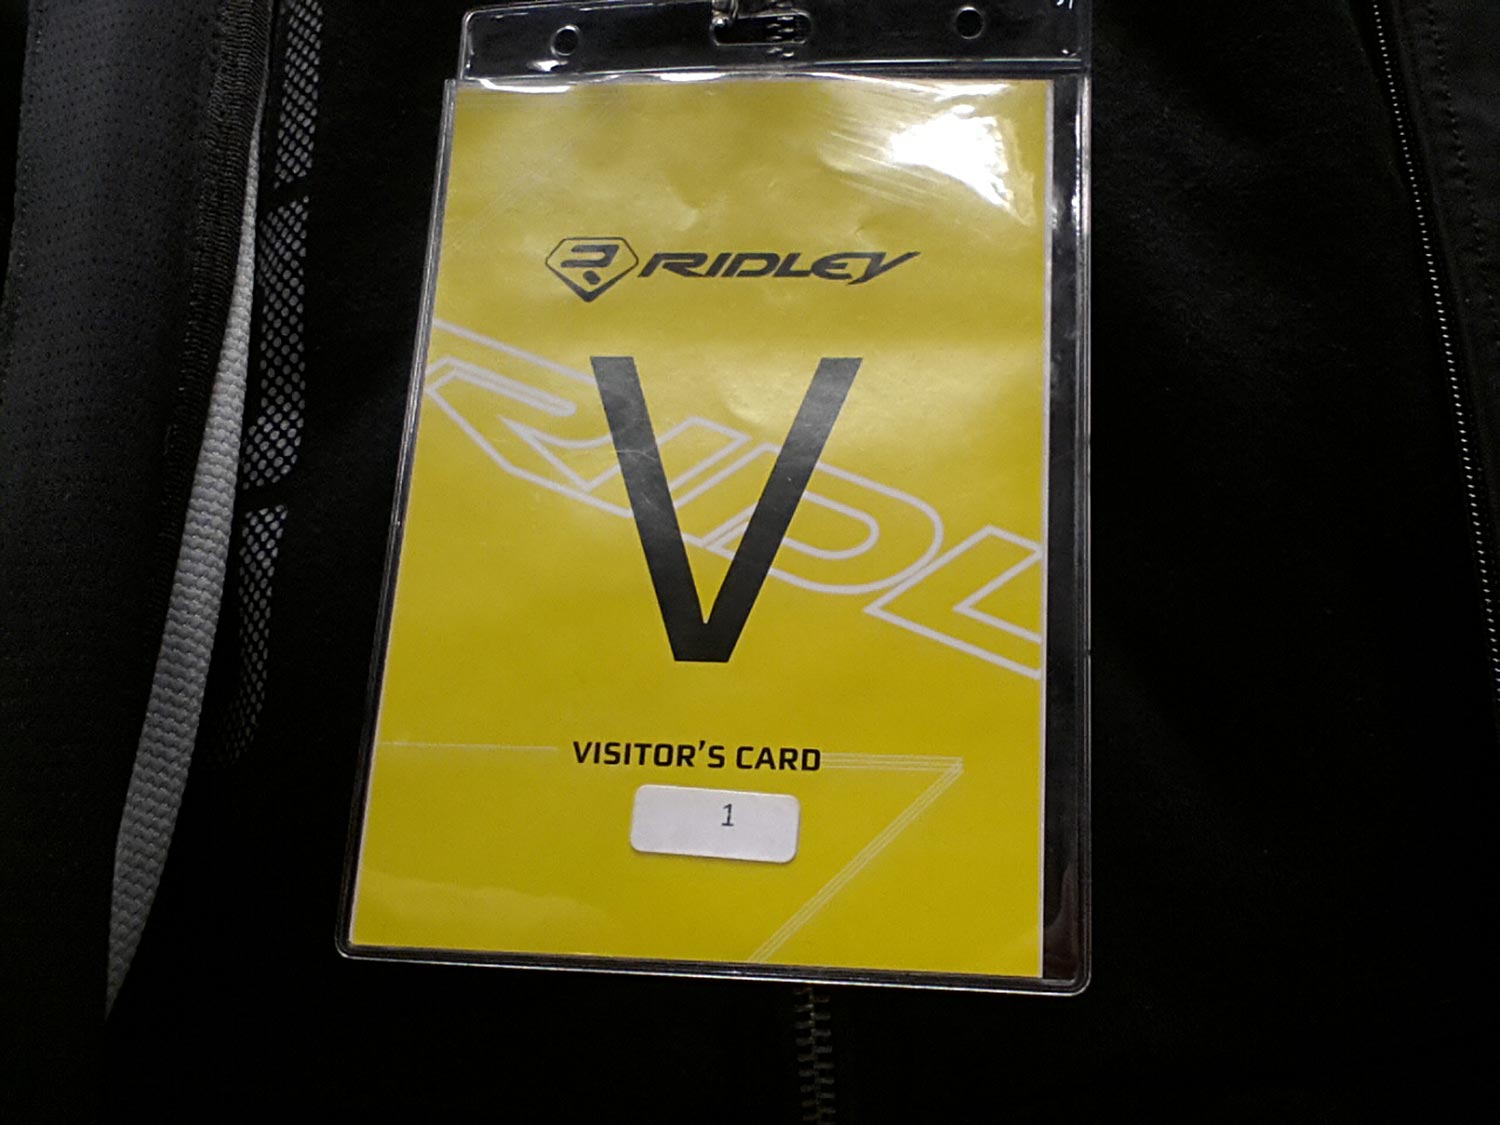
My visitor’s card
It was my lucky day: one of the Lotto Soudal mechanics was in the building and he would be happy to assemble my road bike. But that wasn’t all… He told me the design department would make personalized decals for the frame! We went to visit this department, where I was greeted by Alexander Torelli and his colleague Sharon Roovers, who started on the “Pilot: Don bici” decals.
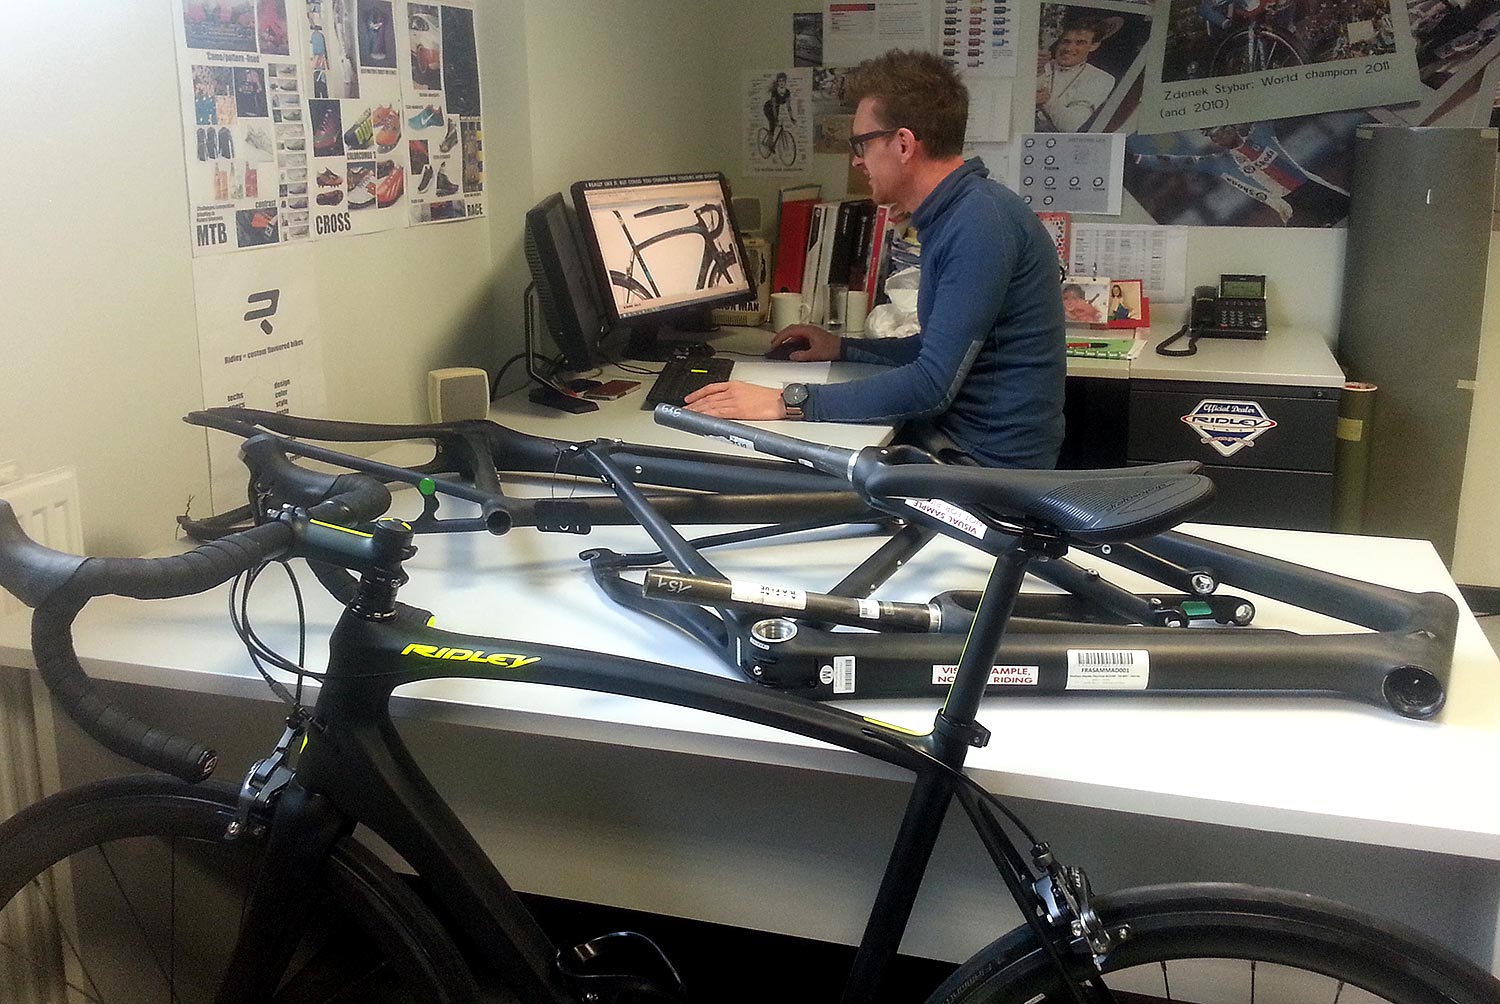
Alexander Torelli at the design department
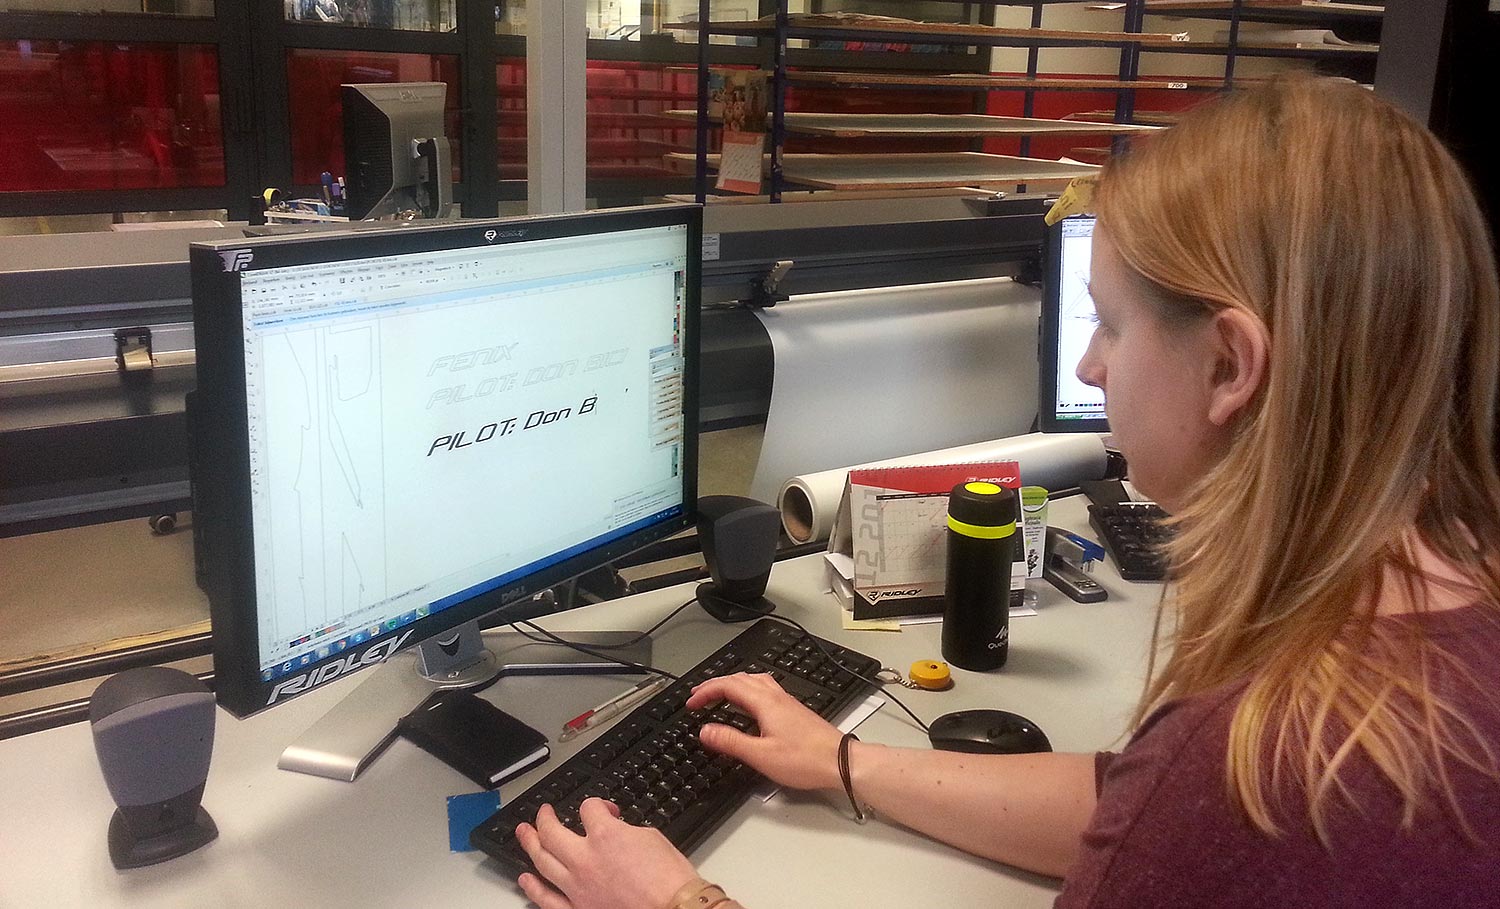
Sharon working on my decals
After Sharon handed me the decals, Maarten Put arrived and he showed me the process from bike parts and frames to the end result. We walked from the warehouse to the department where the frames are prepared for a Ridley paint job or a color scheme chosen by the customer.
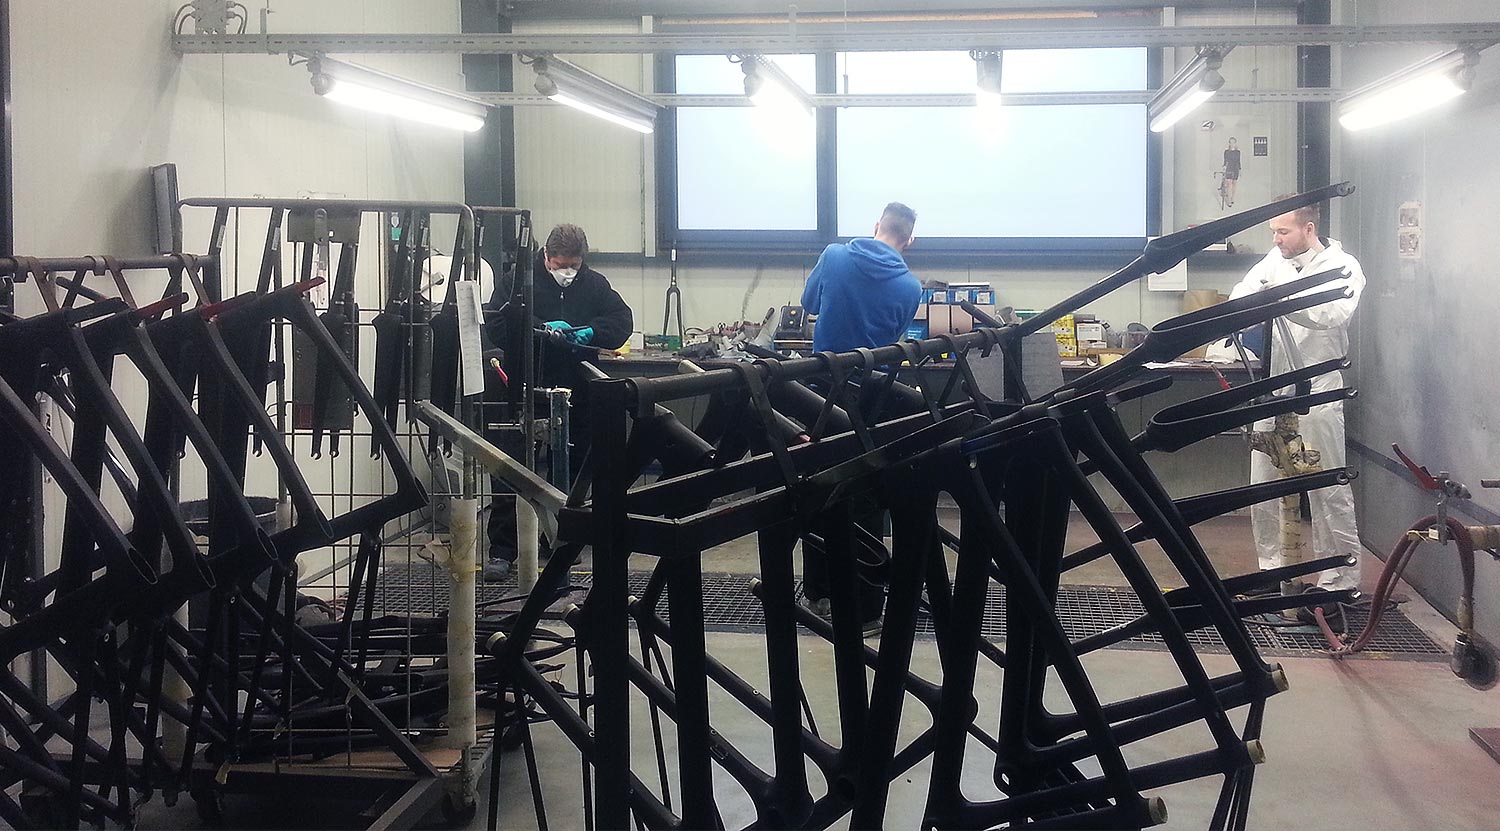
Preparing the frames for the paint job
Maarten showed me the department where the bikes are painted and we passed a few freshly painted Lotto Soudal frames.

Painting a bike frame
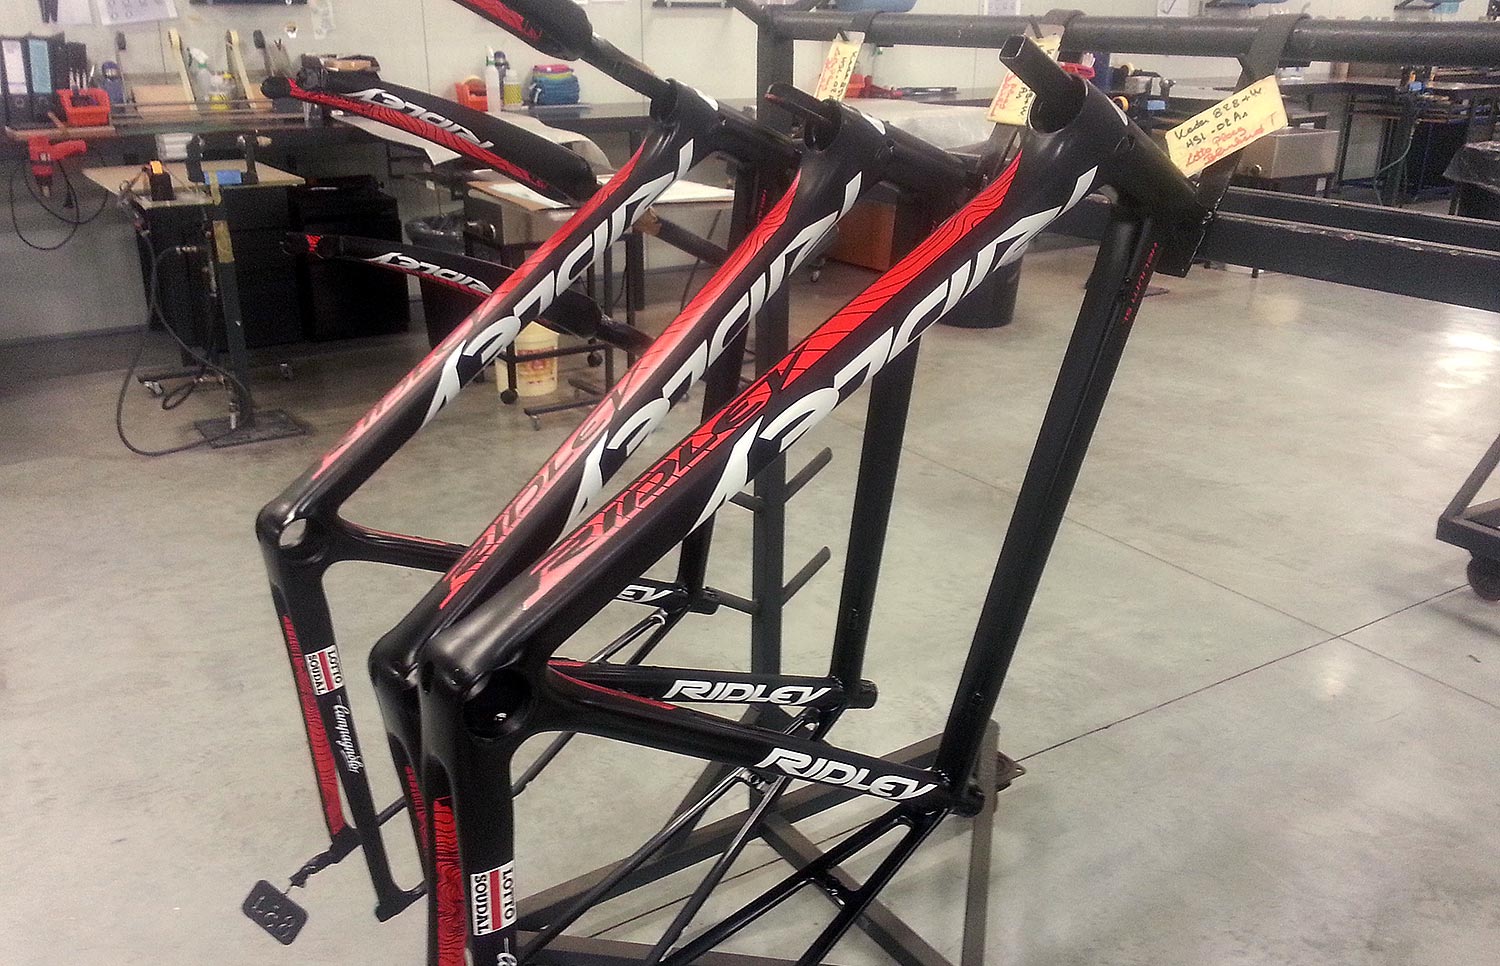
The Lotto Soudal bike frames
When a bike is painted and passes quality control, the frame and all bike parts needed are put on a cart that’s wheeled to the Ridley mechanics, who assemble all Ridley bike models, from MTBs to road bikes and from CX to TT bikes.
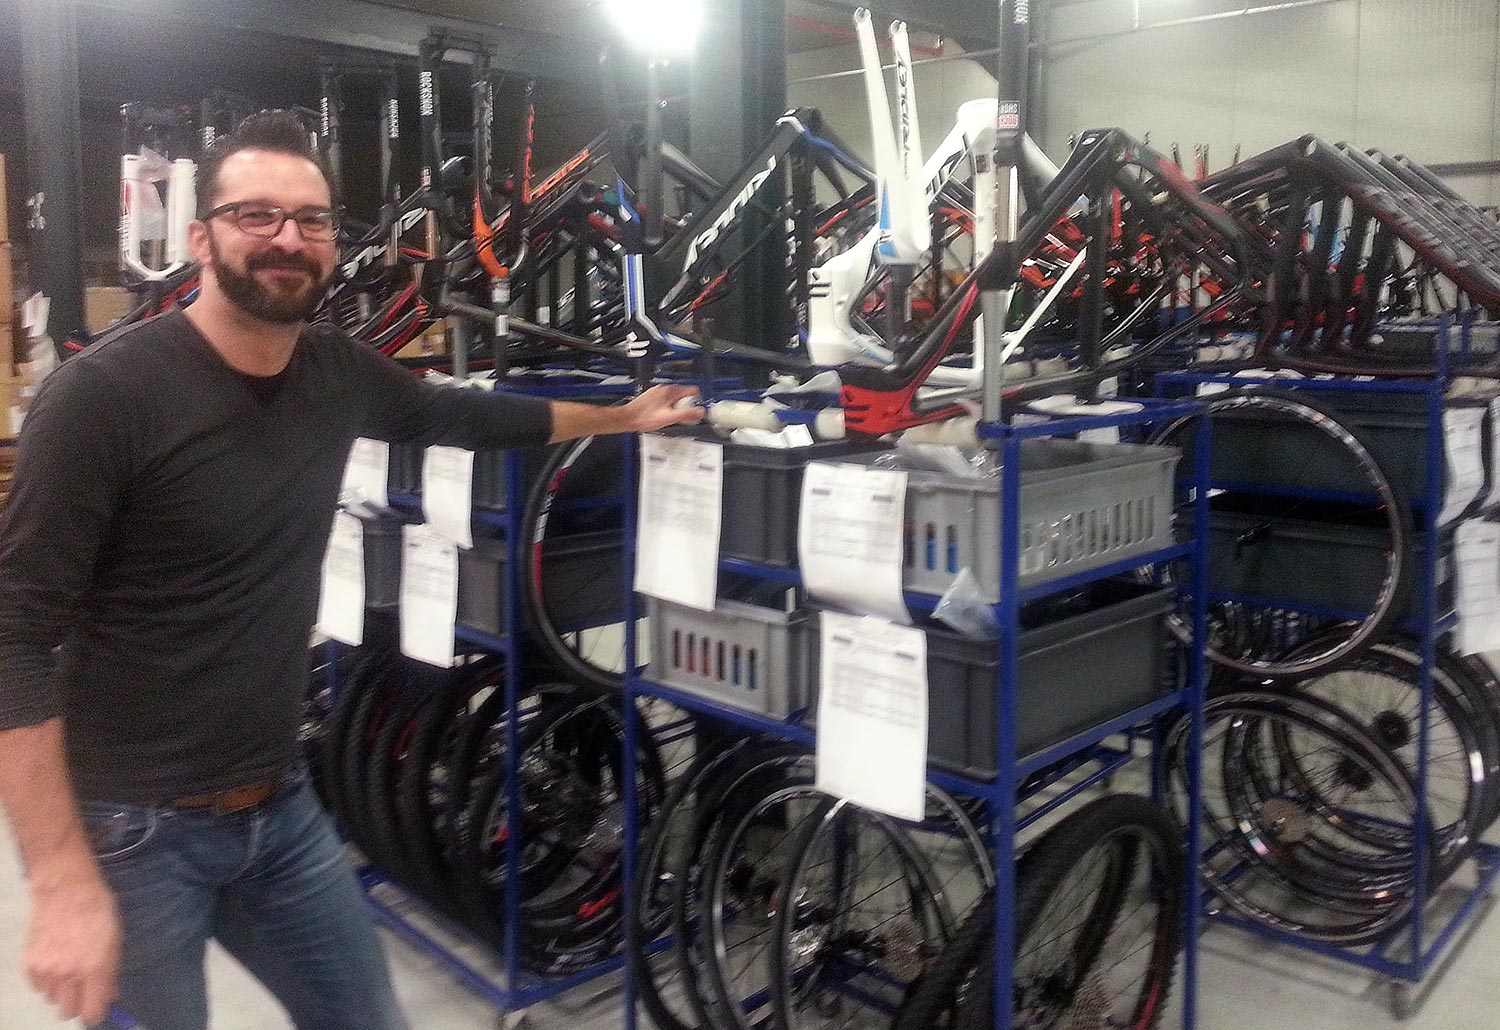
Maarten Put, showing me around the facility
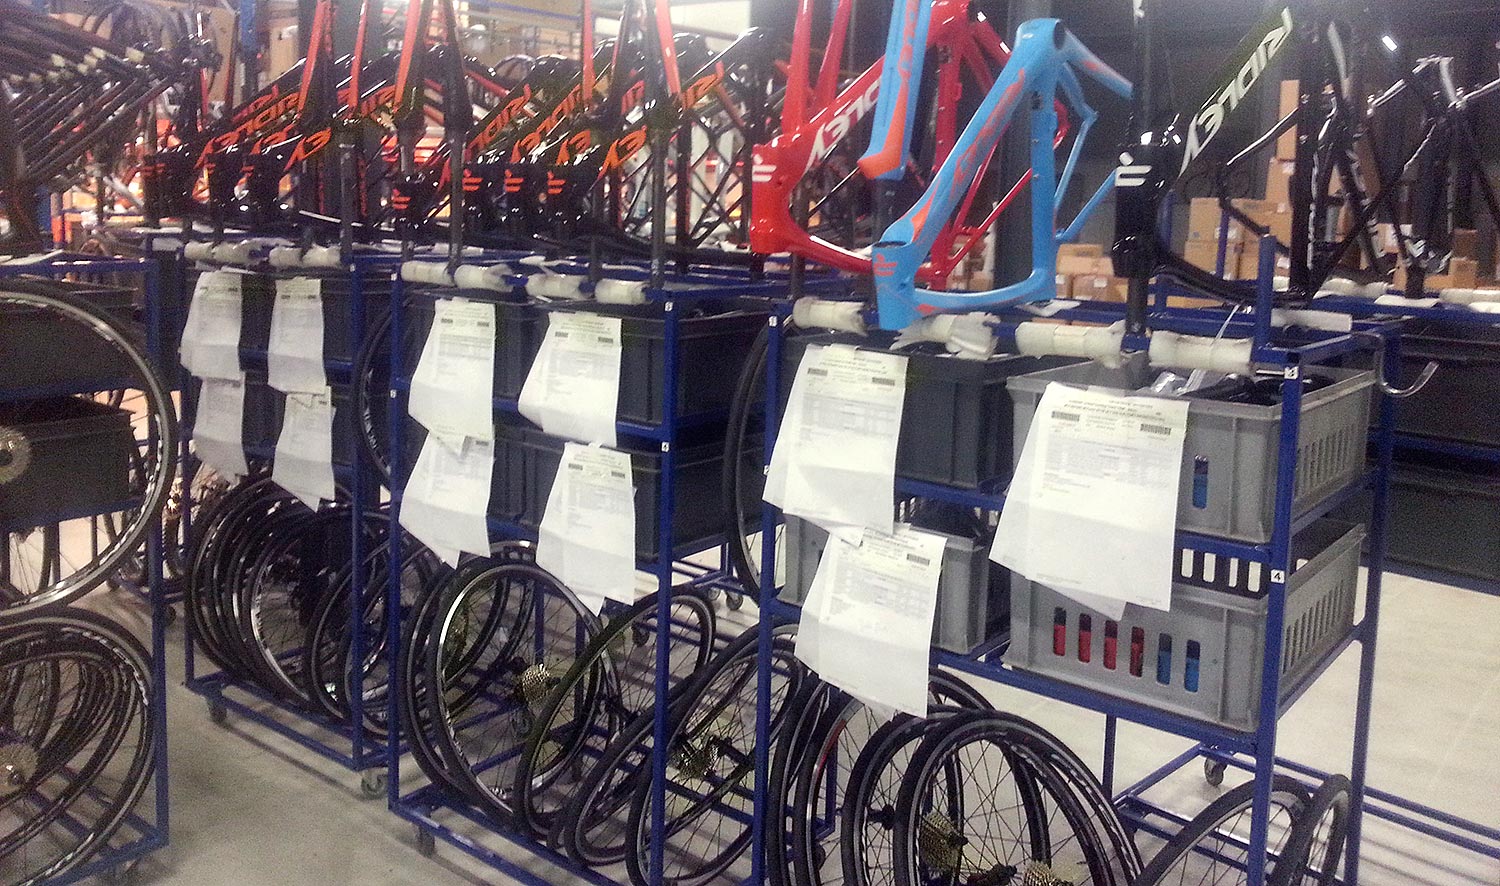
Frames and parts in carts ready to be assembled
After the tour he brought me to the showroom with all Ridley models ready to be loaded into my car (if only…).

Ridley X-trails
The Ridley X-night
After I stopped drooling, I was sent to Jorn de Graaf, Lotto Soudal mechanic, who was ready to start assembling my bike:

Jorn de Graaf starting to work on my bike
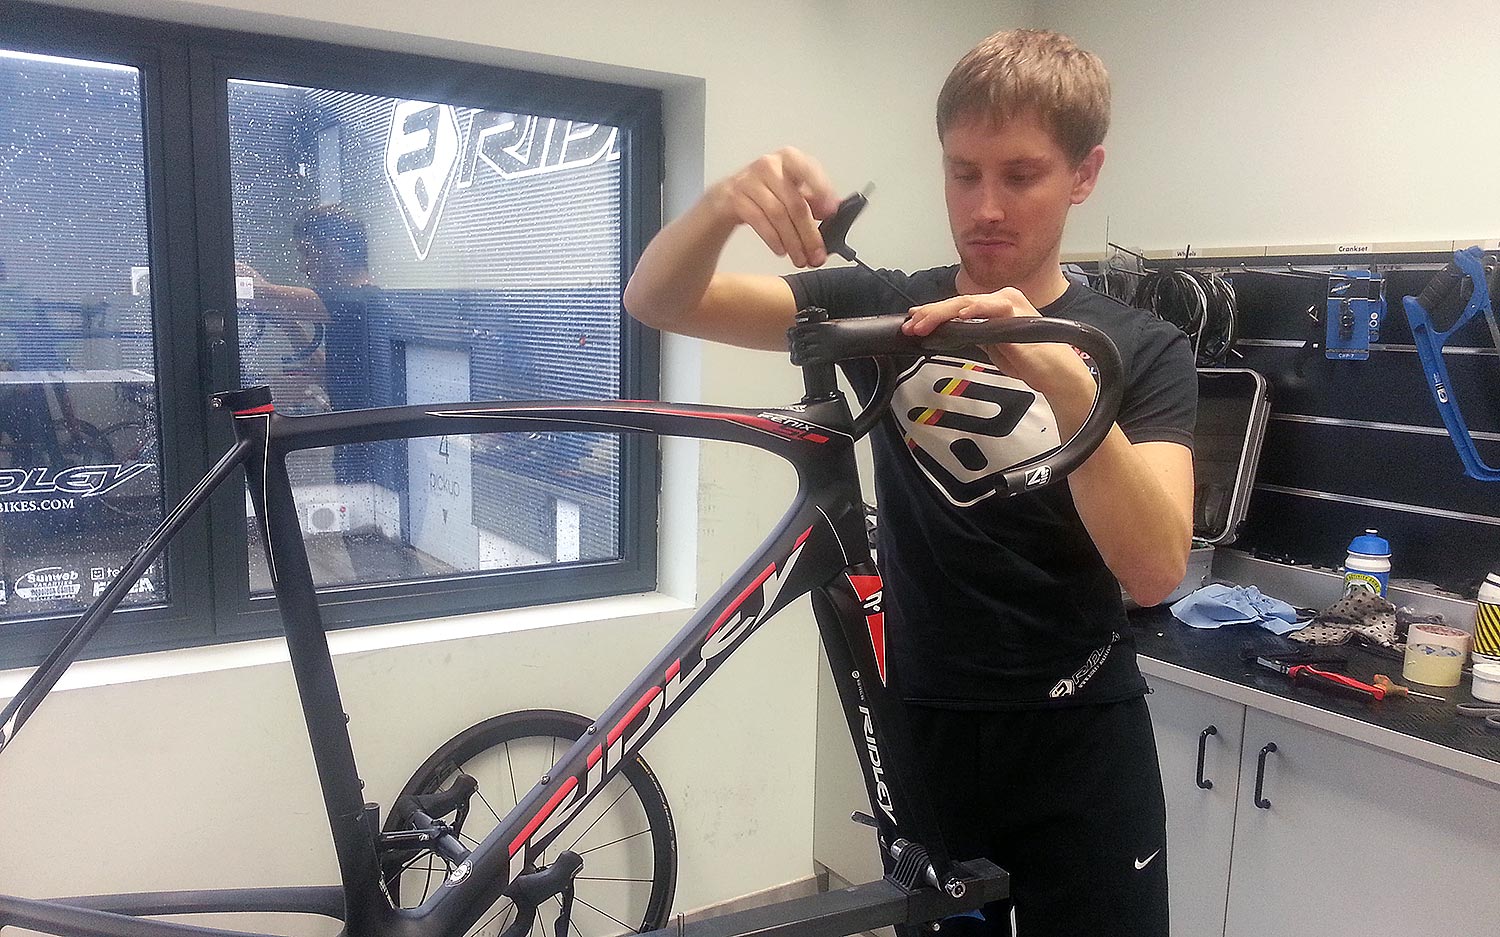
Attaching the 4za handlebars
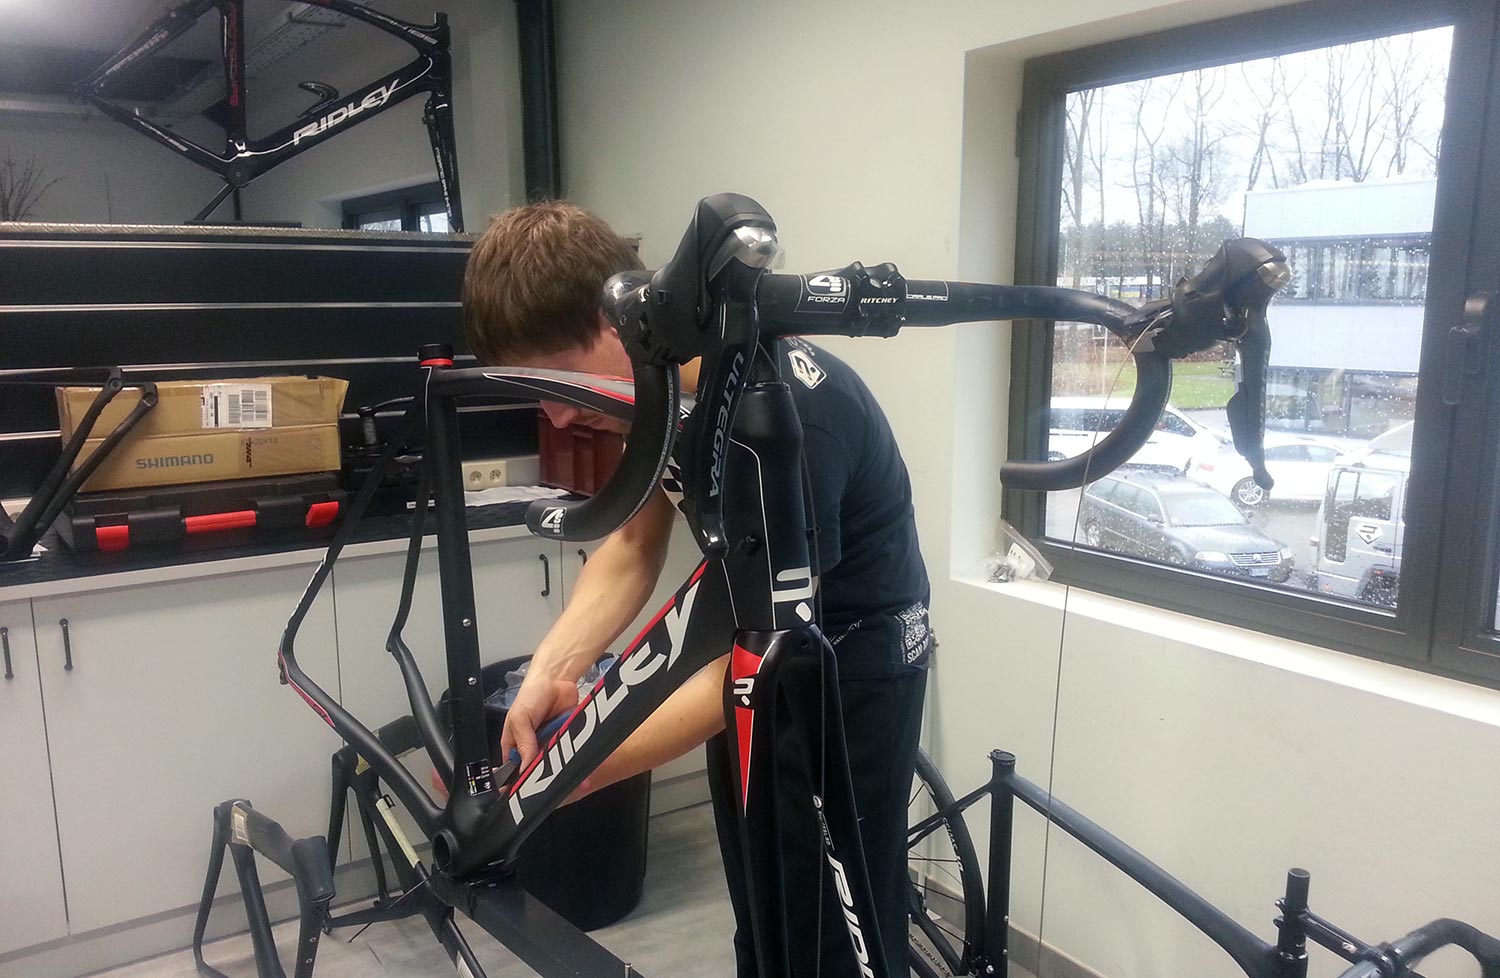
Fitting the cables
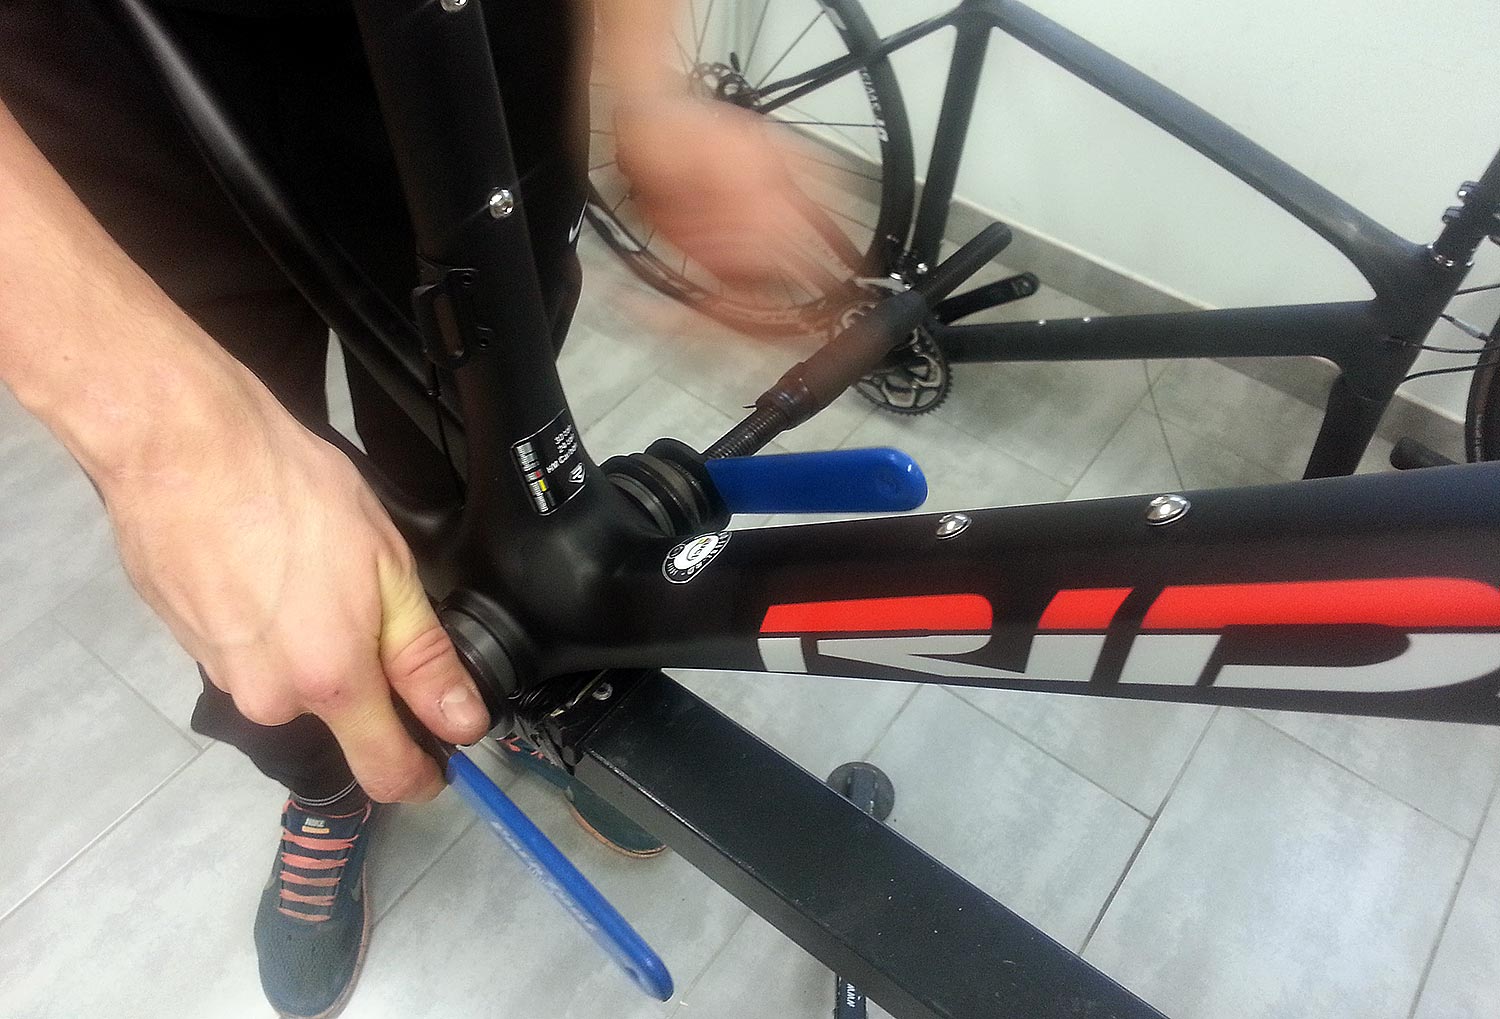
Fitting the bottom bracket
Step by step the frame became a bike, my bike.
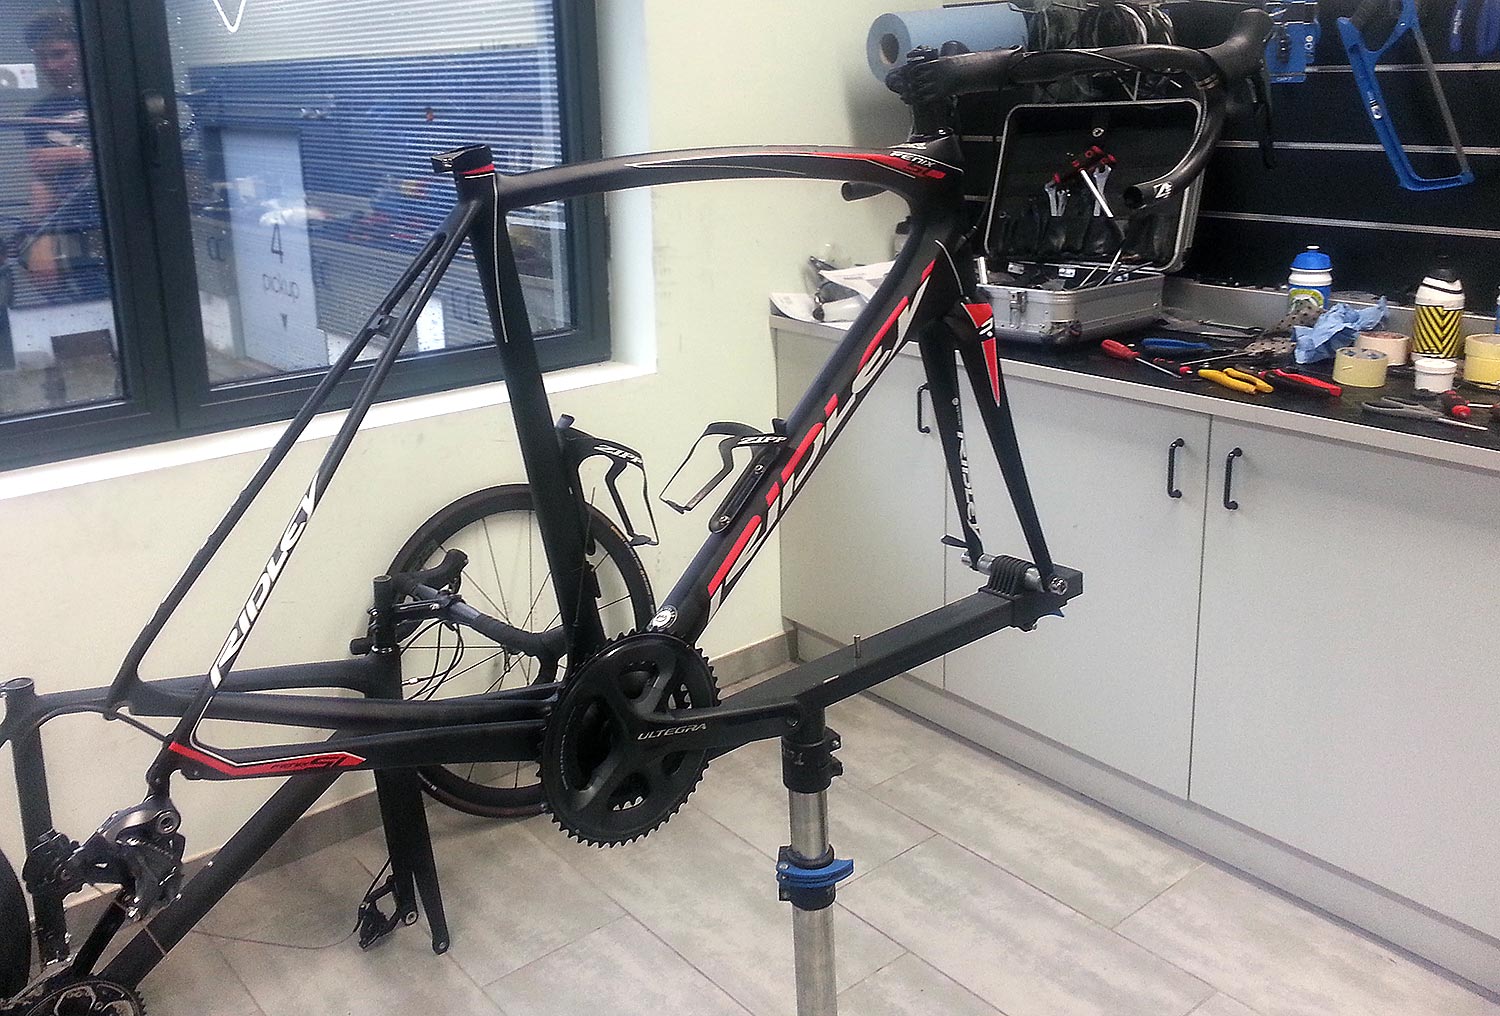
Starting to look like a bike…
And here’s the end result:
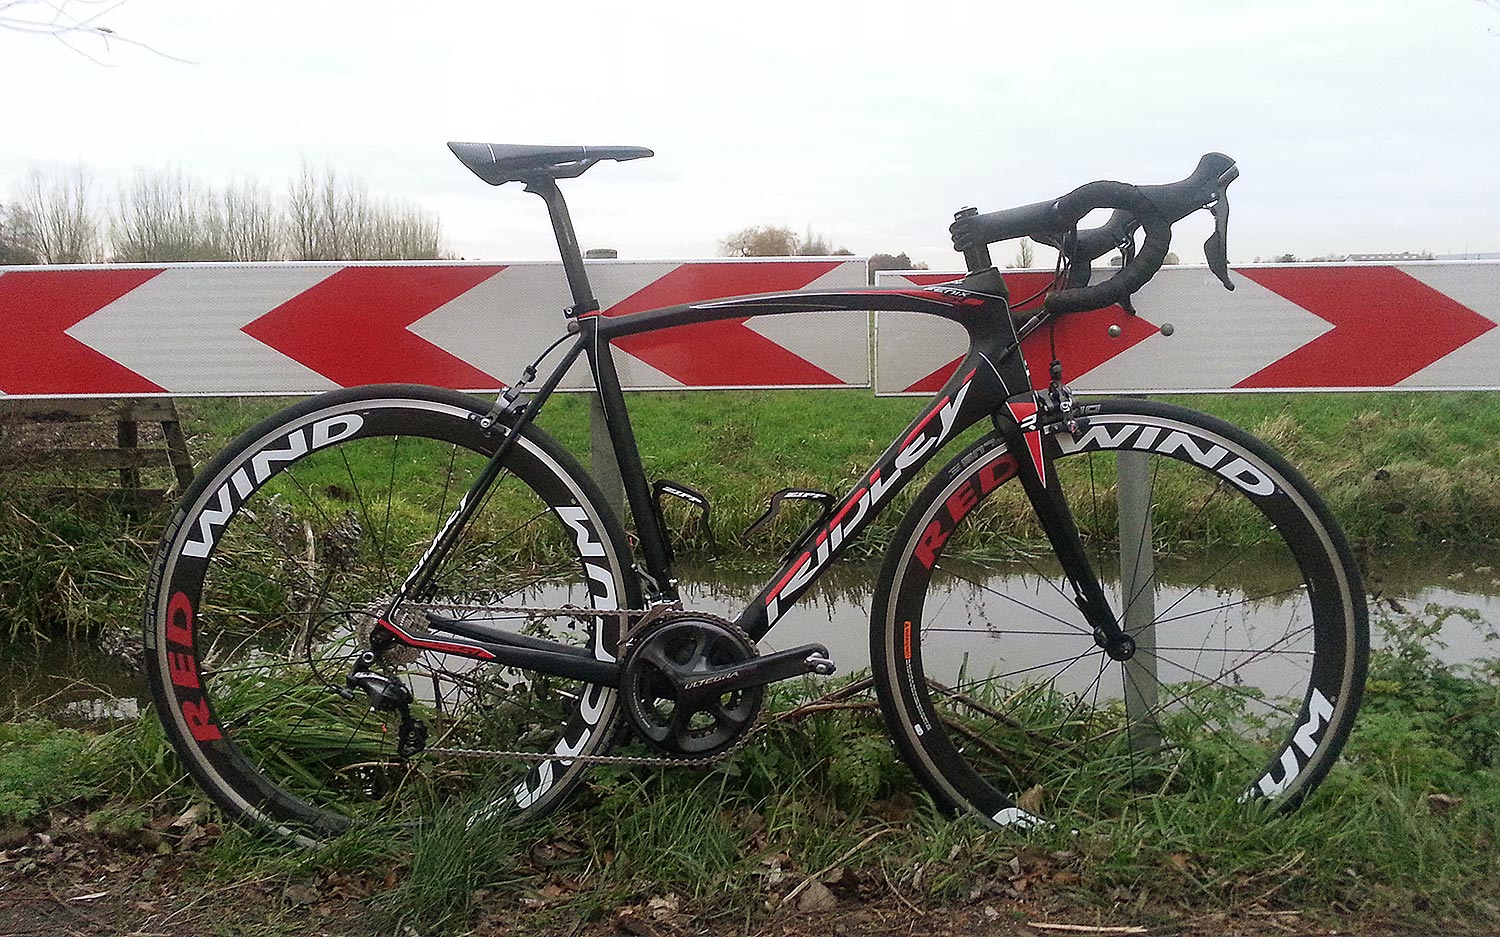
My new winter bike: the Ridley Fenix SL
At the end of the day, I drove home with a fully assembled winter bike and a Ridley bike kit (black, white and red, obviously) Stephan Räkers gave me. I thoroughly enjoyed seeing where and how my bikes and all the other Ridley bikes are made and really appreciate everybody taking the time to show me around.
So a big thank you to everybody at Ridley and in particular Stephan Räkers, Jorn de Graaf, Maarten Put, Sharon Roovers and Alexander Torelli.
You made my day (and my bike :))!
 Ciao! I'm Don Bici and I'm a cycling guide on the sunny island of Sicily and ambassador for


